OP-1 Portable Synthesizer Stand
Music is something that has played a pivotal role in my life during some of my most formative years. My first introduction to music came from piano lessons when I was in elementary school. Initially I seemed to hate the whole idea of learning music, as I often had to be bribed to practice with packs of Pokemon cards. Fortunately, my interest in and understanding of music has improved since my adolescence, leading me to join choirs and musicals at first, and then an a cappella group in college. That a cappella group, The Villanova Spires, pushed my love for music to a new level. From joining the group as a timid freshman to growing to lead the group as President my senior year, my interest in music composition and creation took main stage as almost all of my free time went into learning, teaching, or practicing original arrangements.
After graduating from Villanova, I decided I needed a new way to explore music, and turned to researching home-recording and mixing, which led me to purchasing a Teenage Engineering OP-1 Portable Synthesizer. The OP-1 has been widely regarded as an extremely innovative option in the world of synthesizers, and has been used by musicians across all genres, from John Mayer to Deadmau5.
While getting used to the OP-1, I quickly found myself realizing it would be a bit more comfortable to use at a slightly raised angle as opposed to laying the thin aluminum body of the synthesizer flat on it’s back. I had seen several designs floating around on the internet for stands and holders, but none of them quite fit what I was looking for.

A significant part of what I love about the OP-1 is the physical design and overall style of the synthesizer. There is a very unique ‘retro’ feeling to the device, both in physical interface with buttons and knobs instead of a touchscreen, and in the graphic interface with 80’s themed visuals for the various synth modules. This is a device that intentionally stands outside of the expected, and as such I find it to be very compelling to use and experiment with.
During my first few sessions using the OP-1, I quickly realized I would benefit from some sort of stand or holder to improve the ergonomics and hopefully compliment the aesthetics of the device. Upon doing some research online into existing options being sold, I found myself somewhat disappointed to see that the majority of OP-1 stands were simply laser-cut tab and slot constructions made from acrylic or thin sheets of plywood. While I certainly thought many of the stands I saw were well designed, I felt that the unique nature of this synthesizer demanded a bit more of a personal touch and design flare to the construction of its stand. As such, I set out to make my own design for an OP-1 stand, with a focus both on having a compelling appearance and also on outperforming the designs of my "competitors" in regards to protection of the synthesizer.

From the start I wanted the exciting nature of using an OP-1 to more accurately be portrayed by the look of my stand. While the device’s physical design is mostly minimalist with a splash of color here or there, the actual user experience is quite free flowing and exciting. In designing my stand, I aimed to capture both the simplicity inherent in the form of the OP-1’s body, and the uniquely playful nature of the device’s functionality. This led me to center my design around a mix of hard angles and overhangs combined with soft rounded walls wrapping around the device.
One of my earliest decisions in relation to the functionality of the stand was to ensure the OP-1 was isolated from any contact points that could lead to rubbing and eventual wear or scratches to the body of the synthesizer. My initial thought was to line the interior of the stand with 1/8th inch foam padding, which of course would prevent damage and additionally ensure the stand was securely attached to the OP-1 without need for straps or clips due to the slight interference fit the foam would provide. This can be seen in the sketch above where I have a notch drawn in which would run along the perimeter of the stand’s inner face, accepting a sheet of foam for the base and a strip of foam for the sides.

My initial CAD shown above largely encapsulates my original intent for the stand, but as with most primary CAD work, is missing some key aspects that will develop further as the project progresses. This model is of course missing the foam lining and is overall much simpler than my final product - both aesthetically and functionally. This first model served mainly as a proof of concept to ensure I liked the overall look of the stand in 3D.
Some initial issues quickly became apparent from this model. First, I realized that with the addition to foam at the base of the stand where the OP-1 sits would lead to an increase in the overall height of the synthesizer when in use. This is okay to some extent, as the OP-1 is a very slim device and the increased height from the surface it’s placed on would help ergonomics, but the stand itself already adds that height, and I did not have much room to cut into the interior of the stand in order to recess that foam padding. This led me to the realization that the best way to remedy this problem was to simply allow the rubberized feet of the OP-1 to sit directly on the 3D printed body of the stand. Furthermore I can add recessed divots to the stand in the locations of the four feet in order to further lower the OP-1 closer to the base of the stand. This brought the height and angle of the OP-1 to be much closer to that of your conventional computer keyboard, which is certainly preferable for ergonomics when compared to a thin slab placed flat on its back.
Second, despite the interesting angles and clean design of the stand in its current state, I felt as though it still wasn’t unique enough. While I certainly didn’t want to turn the stand into something flashy and ostentatious, I did think it could benefit from a bit of extra flare, perhaps in the form of some brass accents.
Third, and most importantly, I realized the design as it stands would not fit on the bed of my 3D printer. While I do have a relatively large format printer (a Crealty CR-10) with an overall build volume of 300 x 300 x 400 mm, this was still not sufficient to fit this large part, which ended up being a blessing in disguise. This led me to redesign the stand to be printed in two separate parts, and gave me a pretty good idea of how to incorporate some more interesting geometry and the addition of some brass accents.

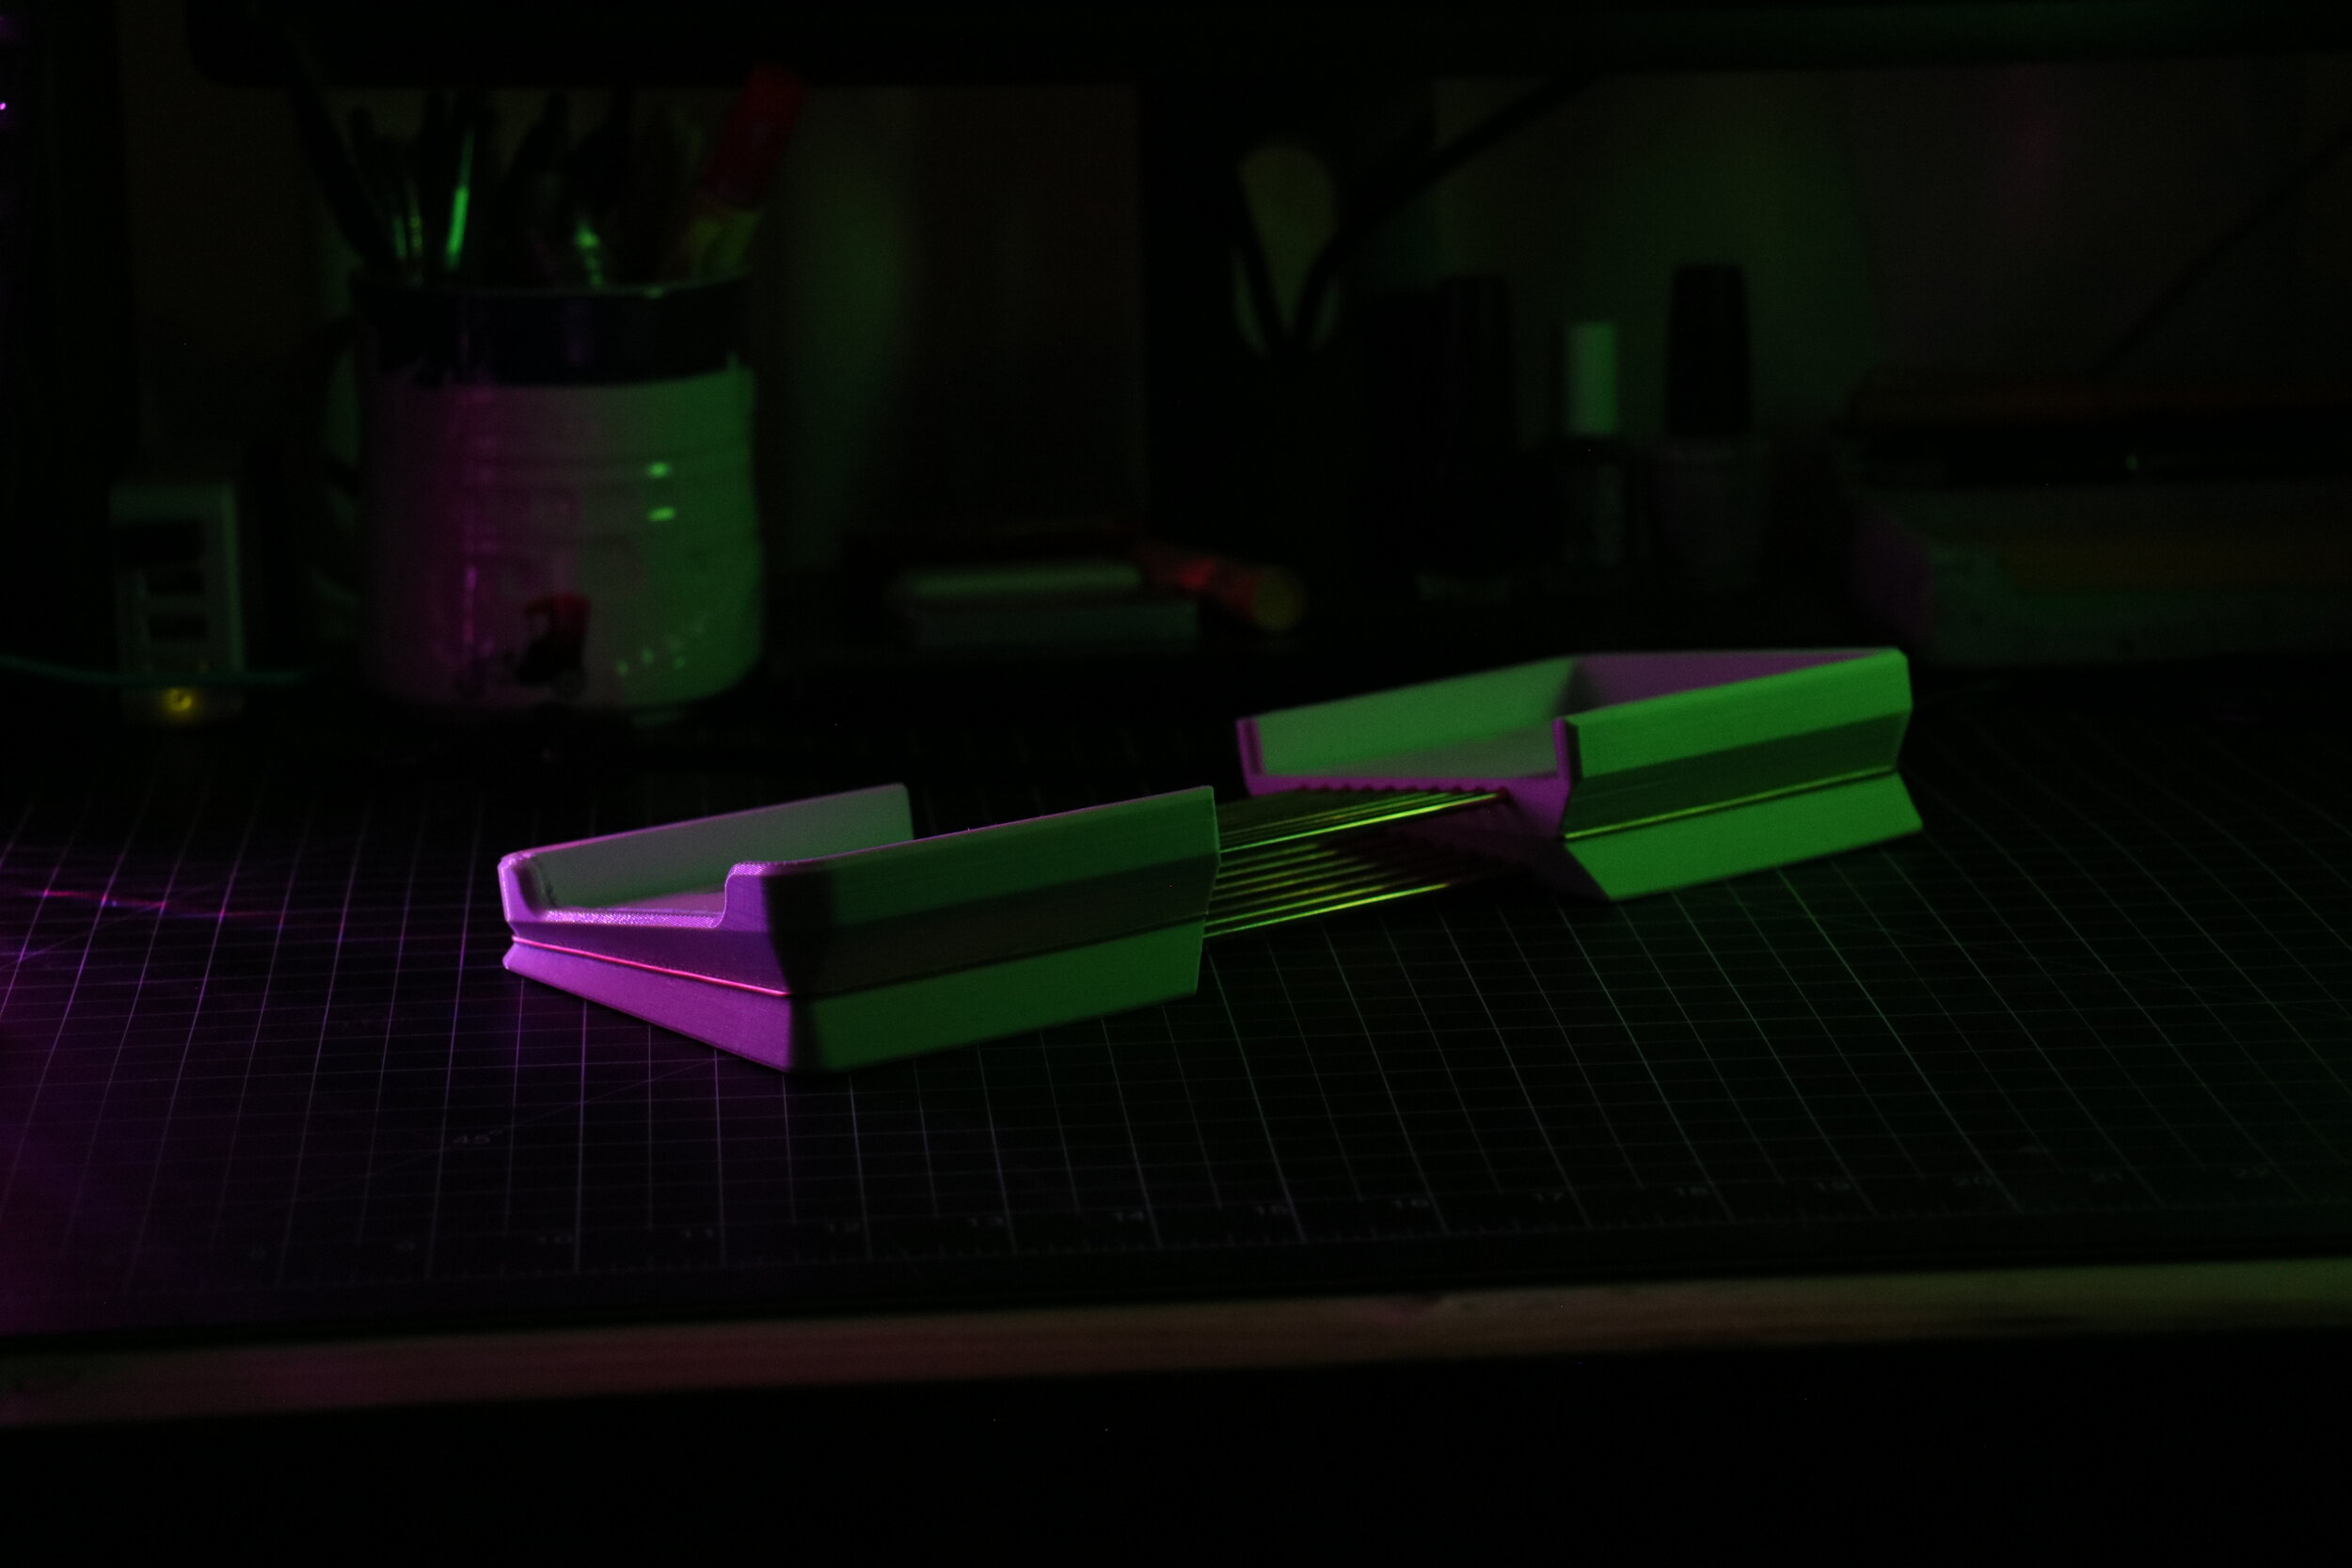
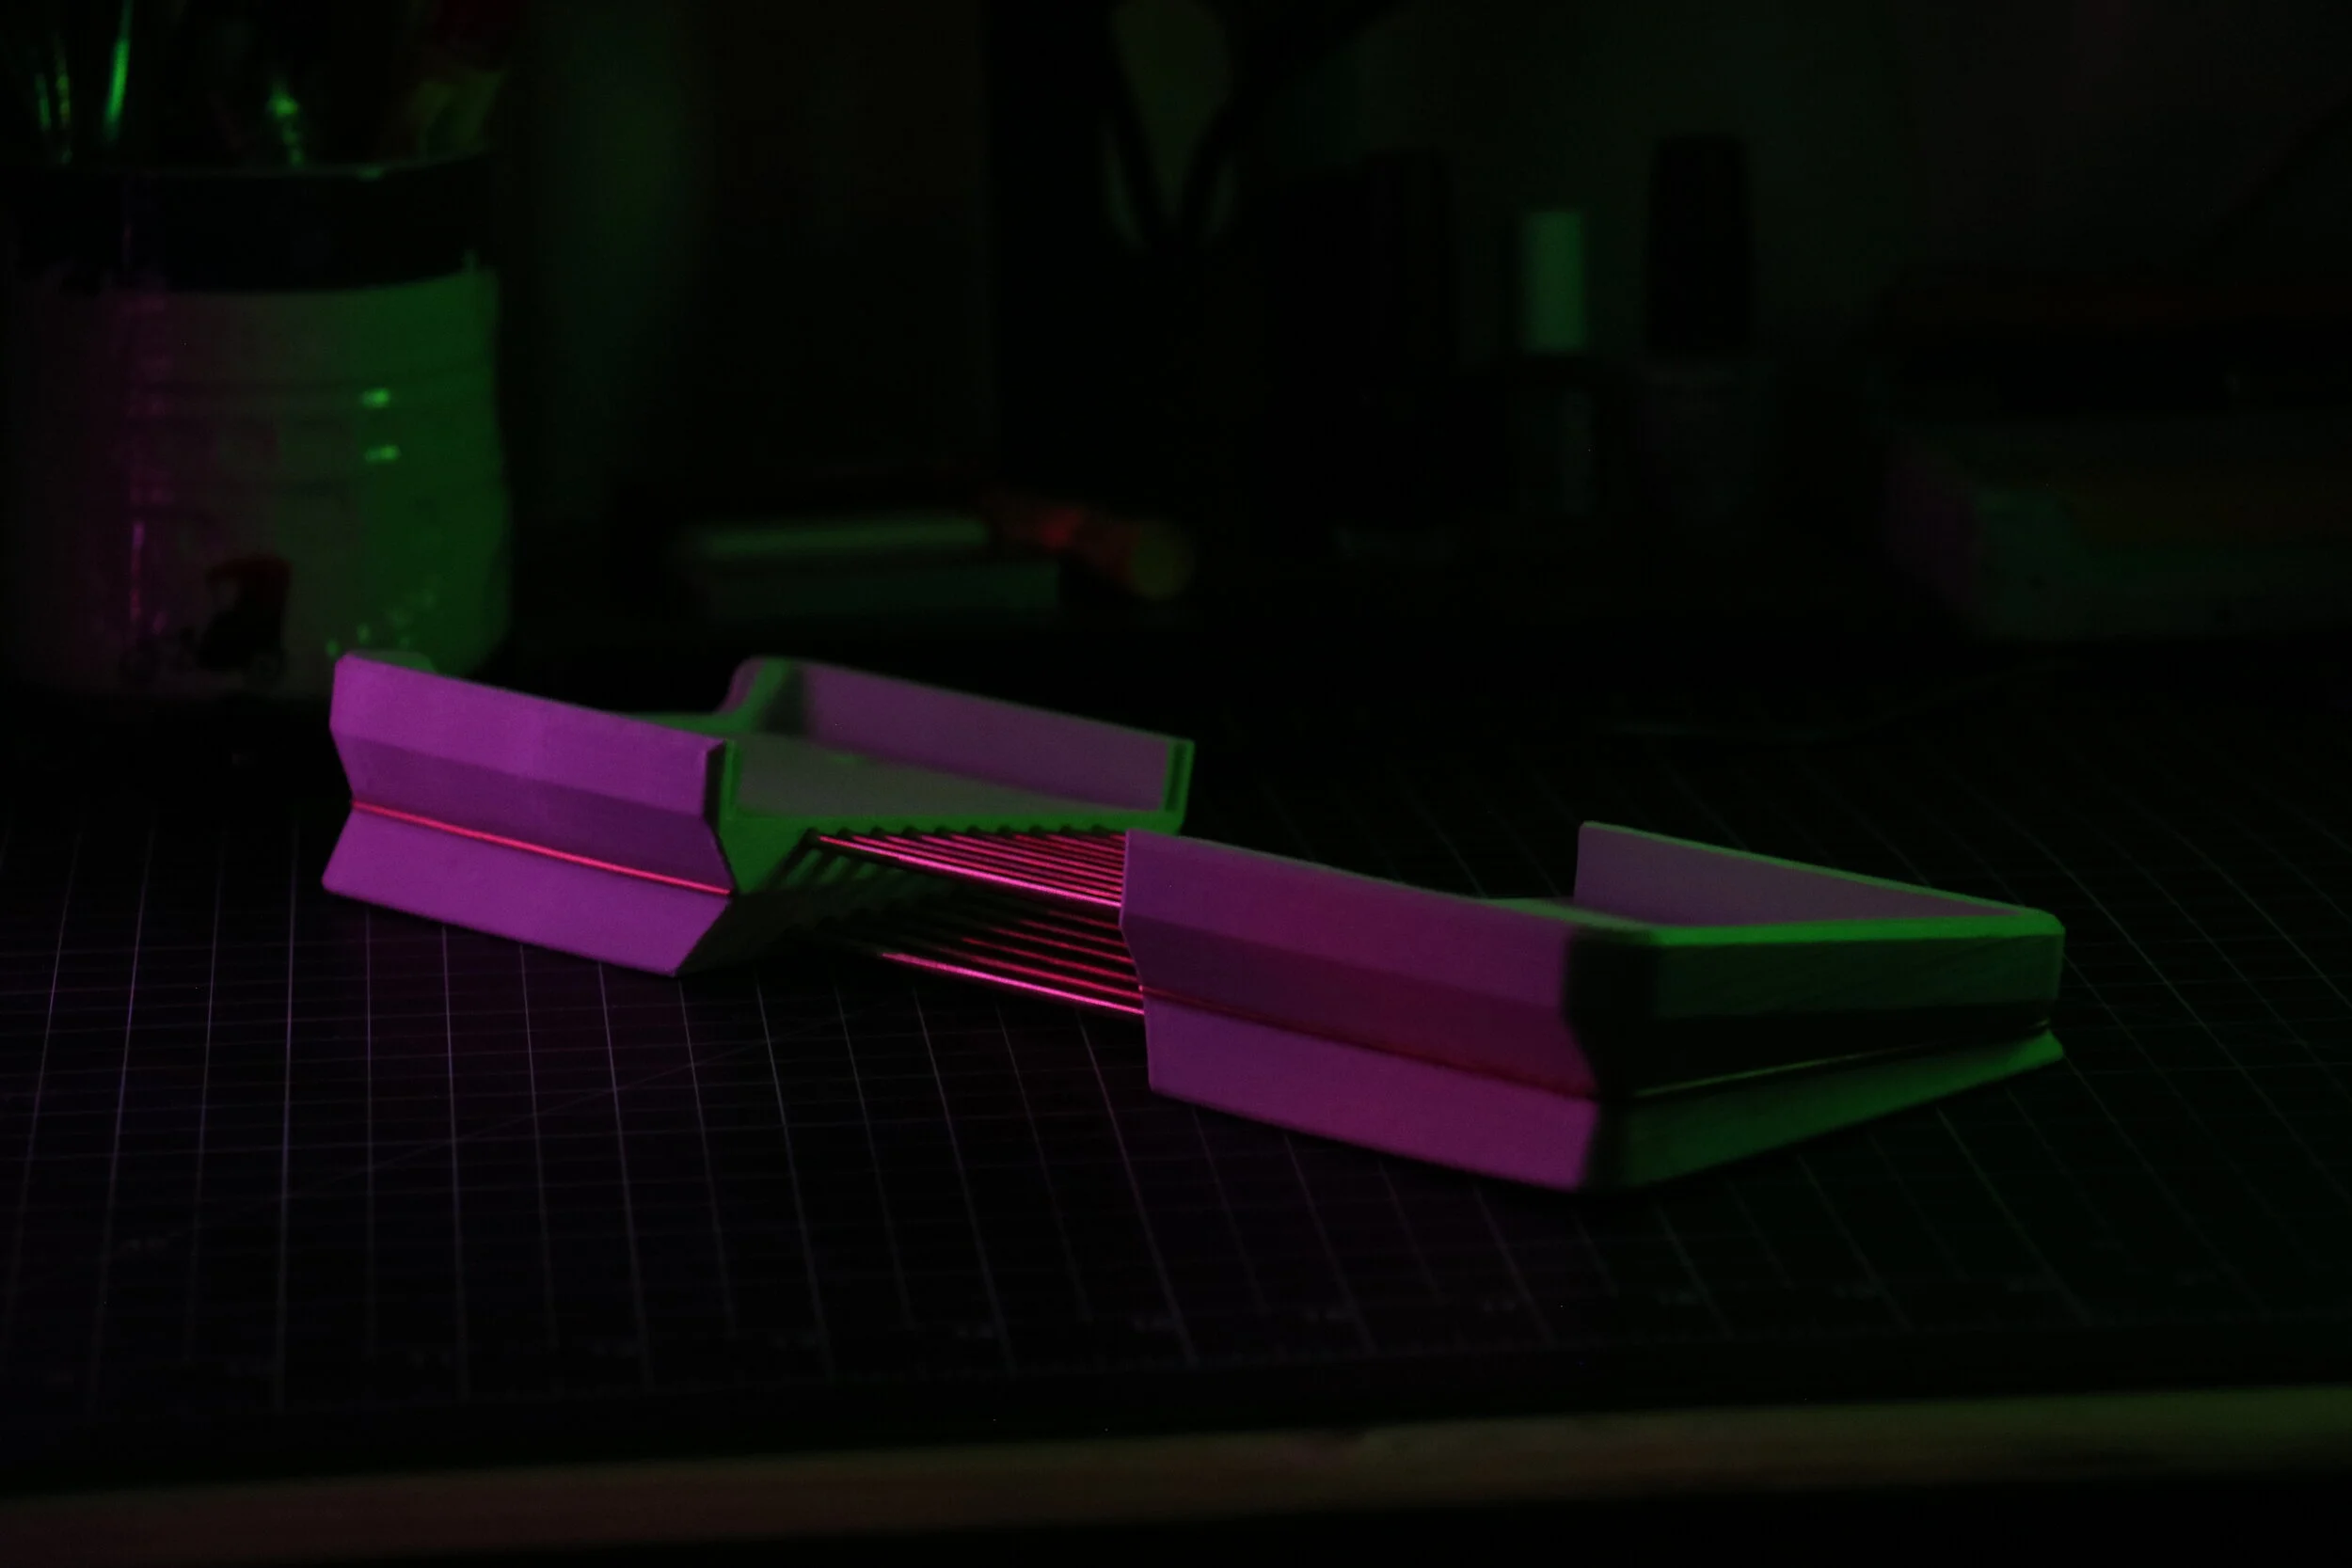
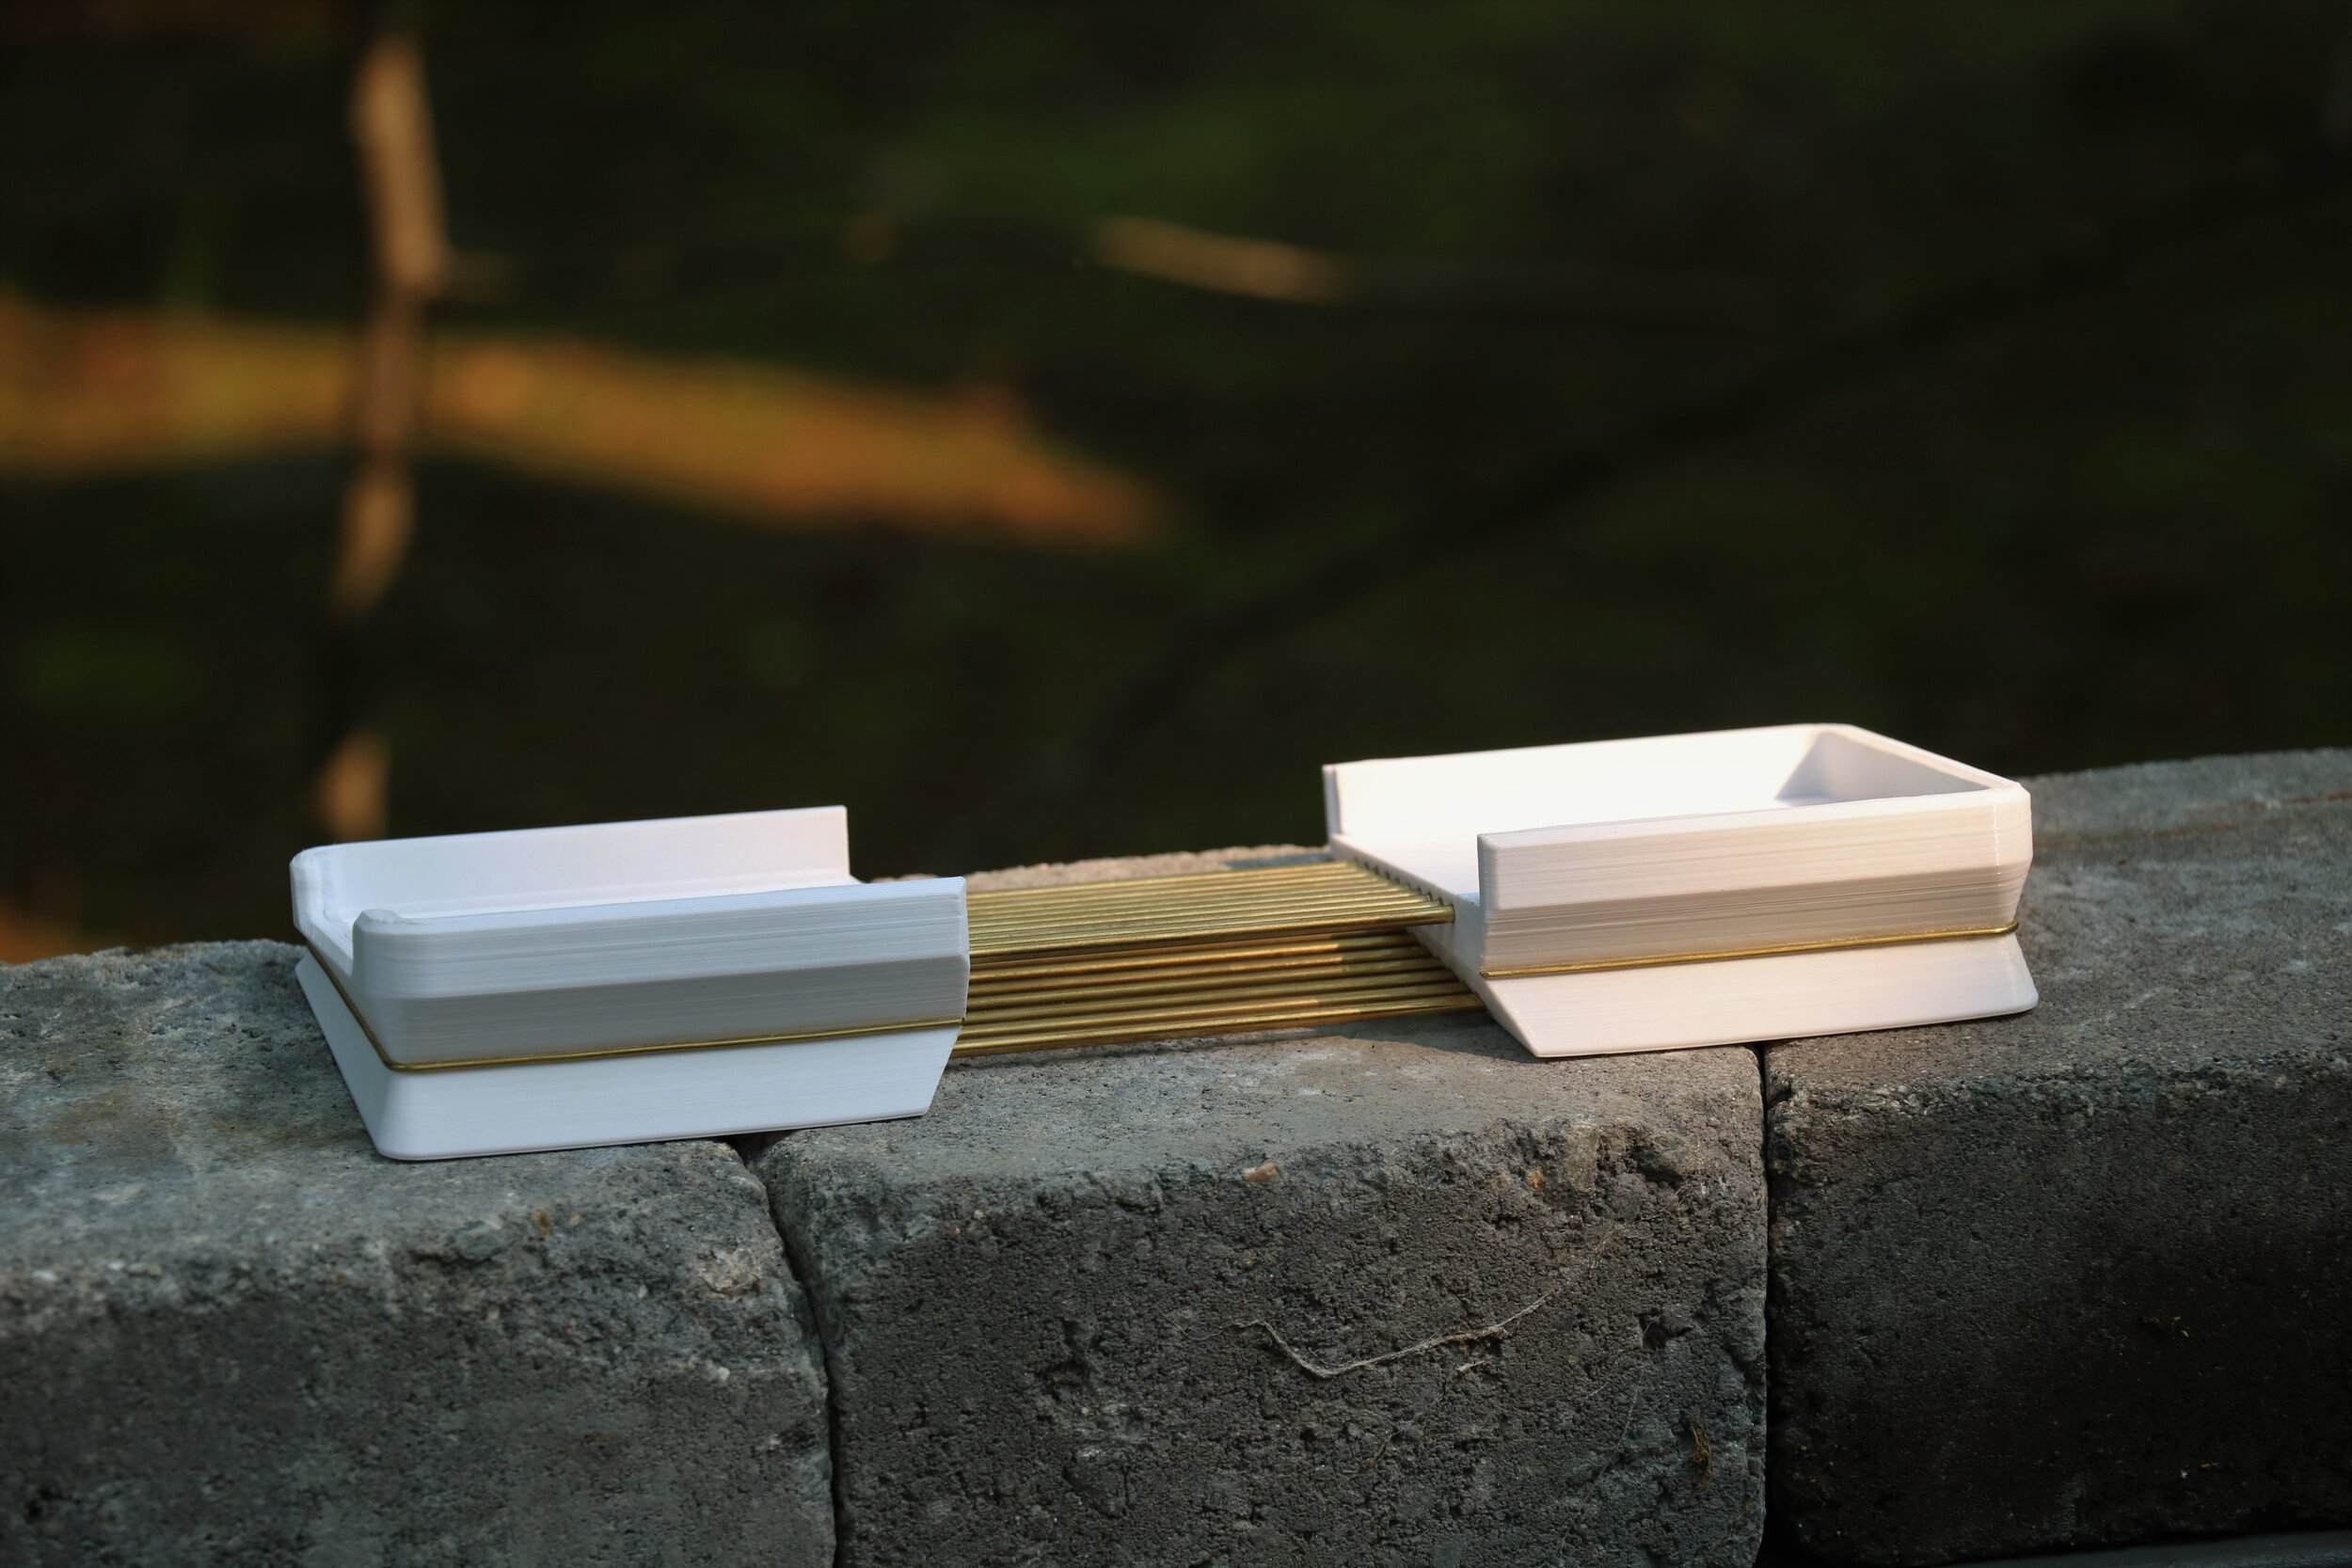
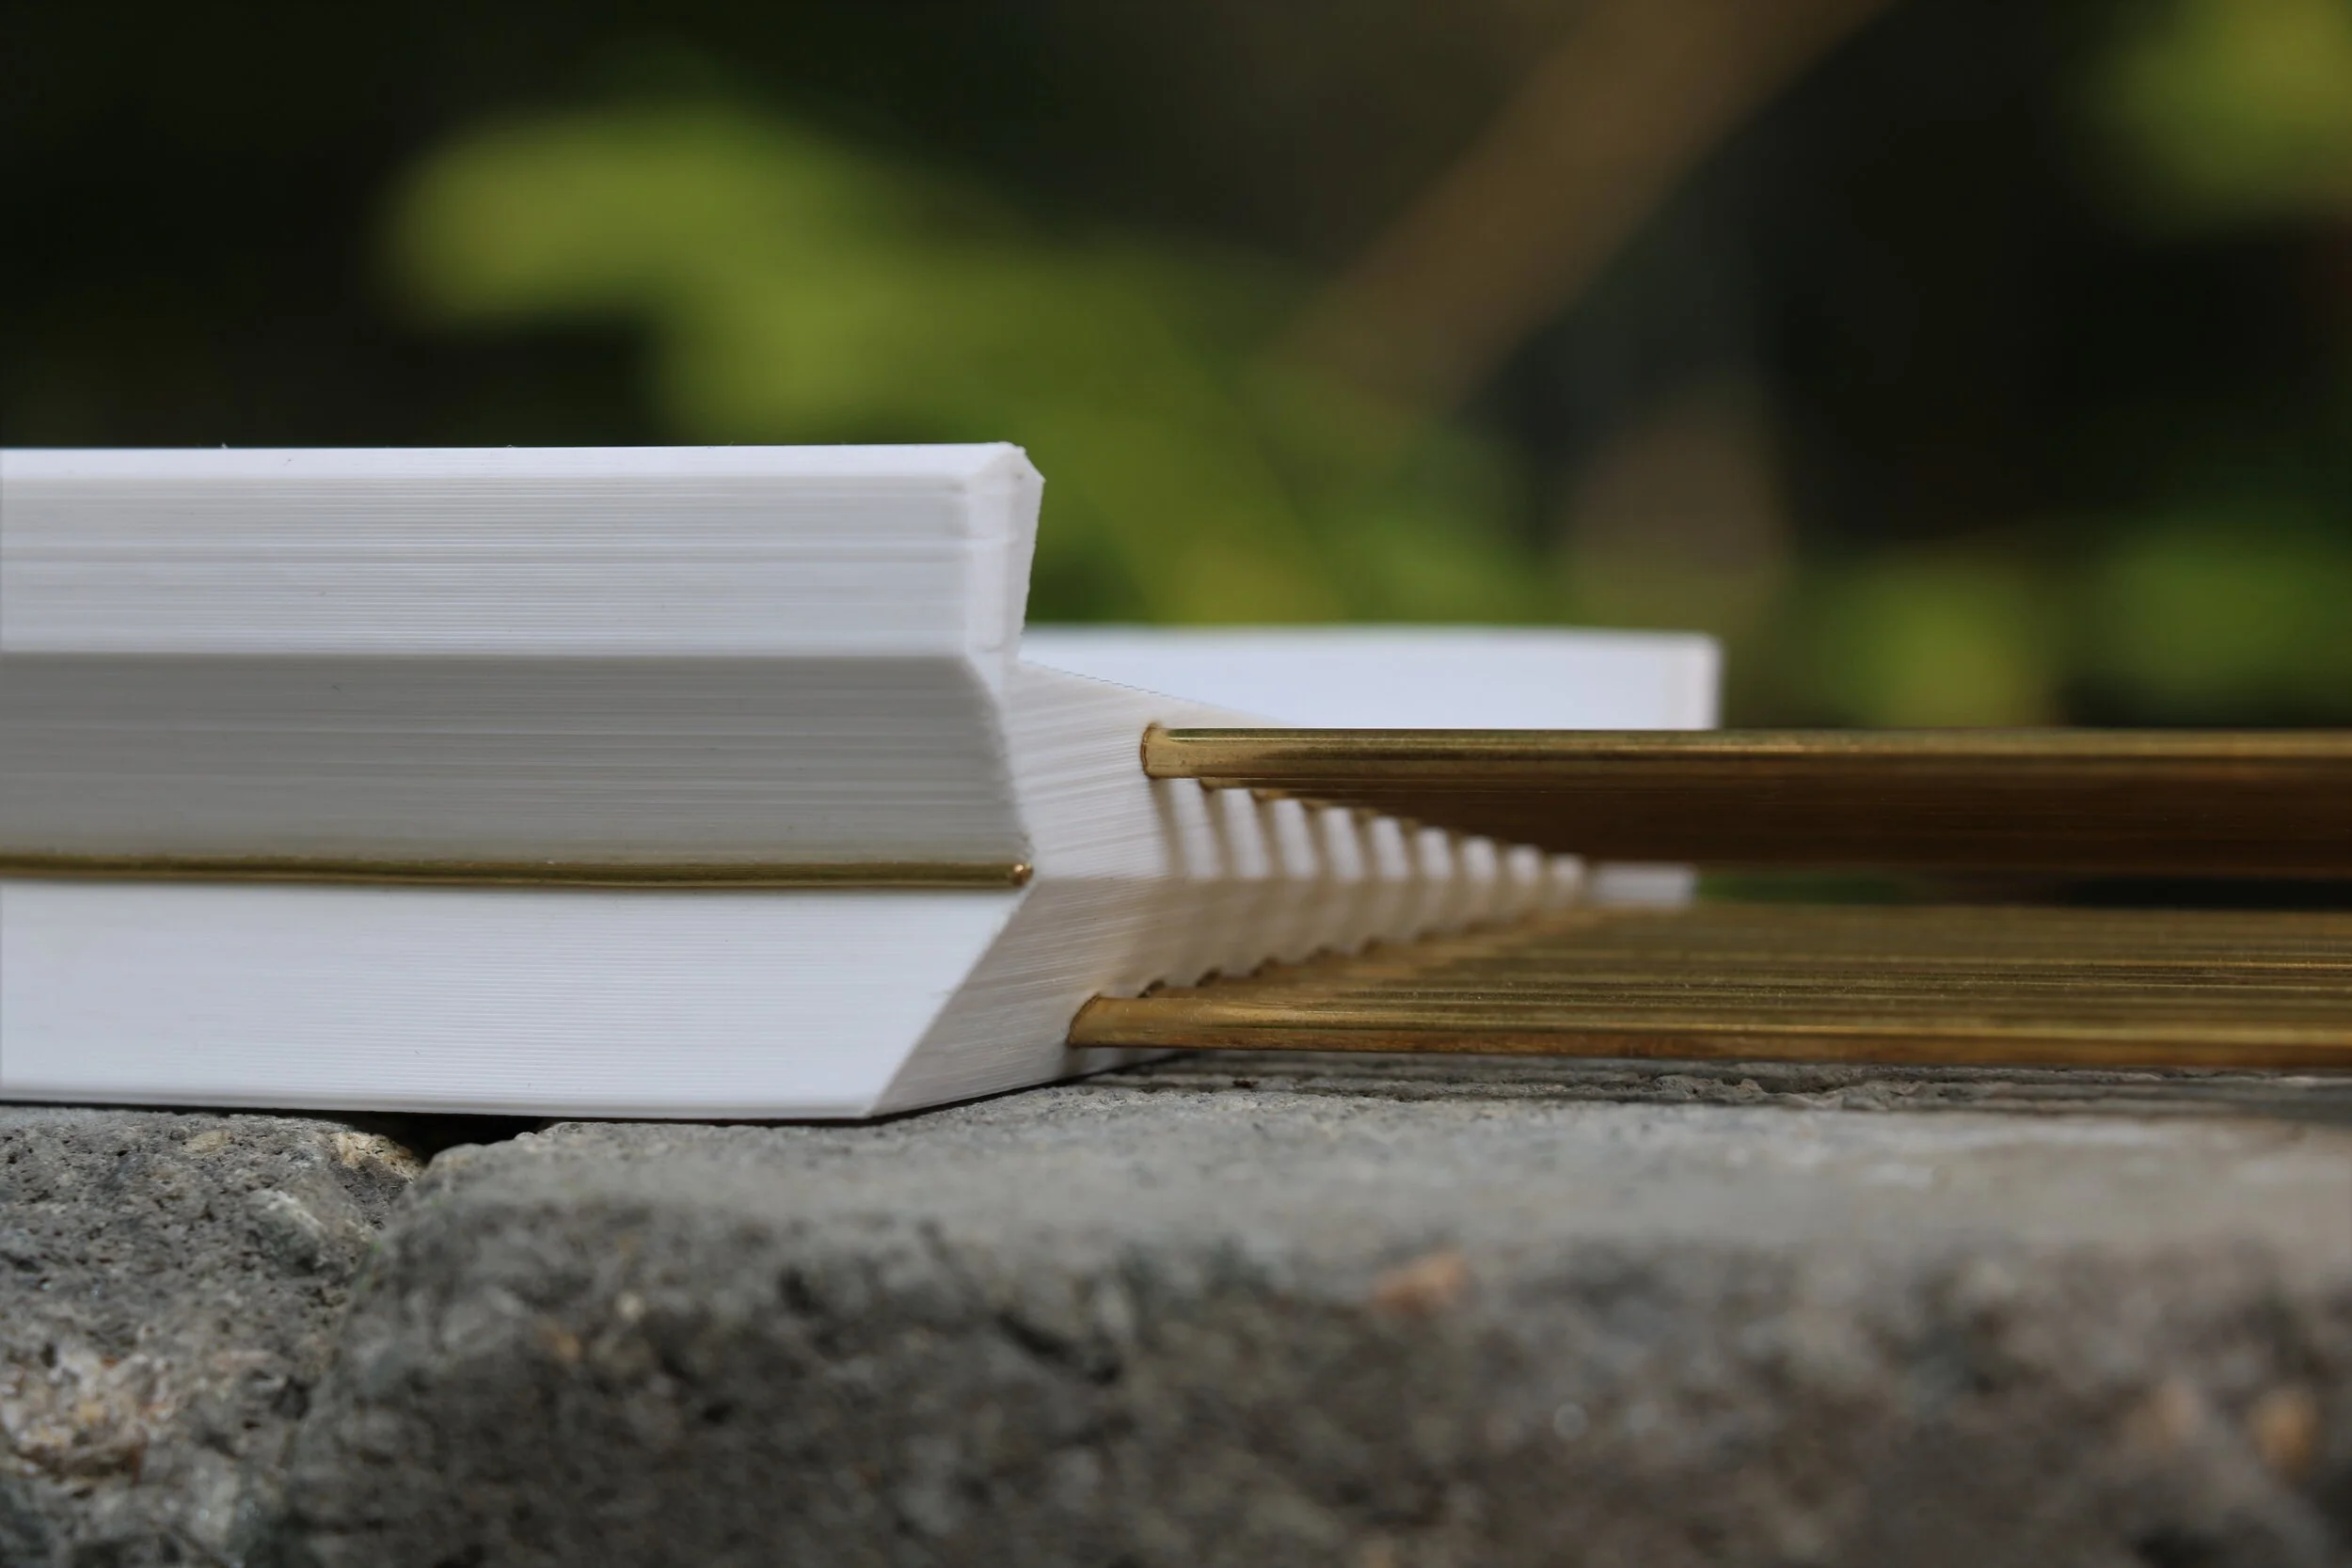
Following several revisions and test prints to ensure proper fit of the OP-1 into the stand, I arrived at the above design. This evolution from my initial design was certainly unplanned at the outset of the project, but very much a positive change in my opinion. The shift from a single monolithic 3D printed body to a two-part split body allowed the addition of far more interesting geometry specifically on the inner edges of either half where the 1/8th inch brass rods are anchored.
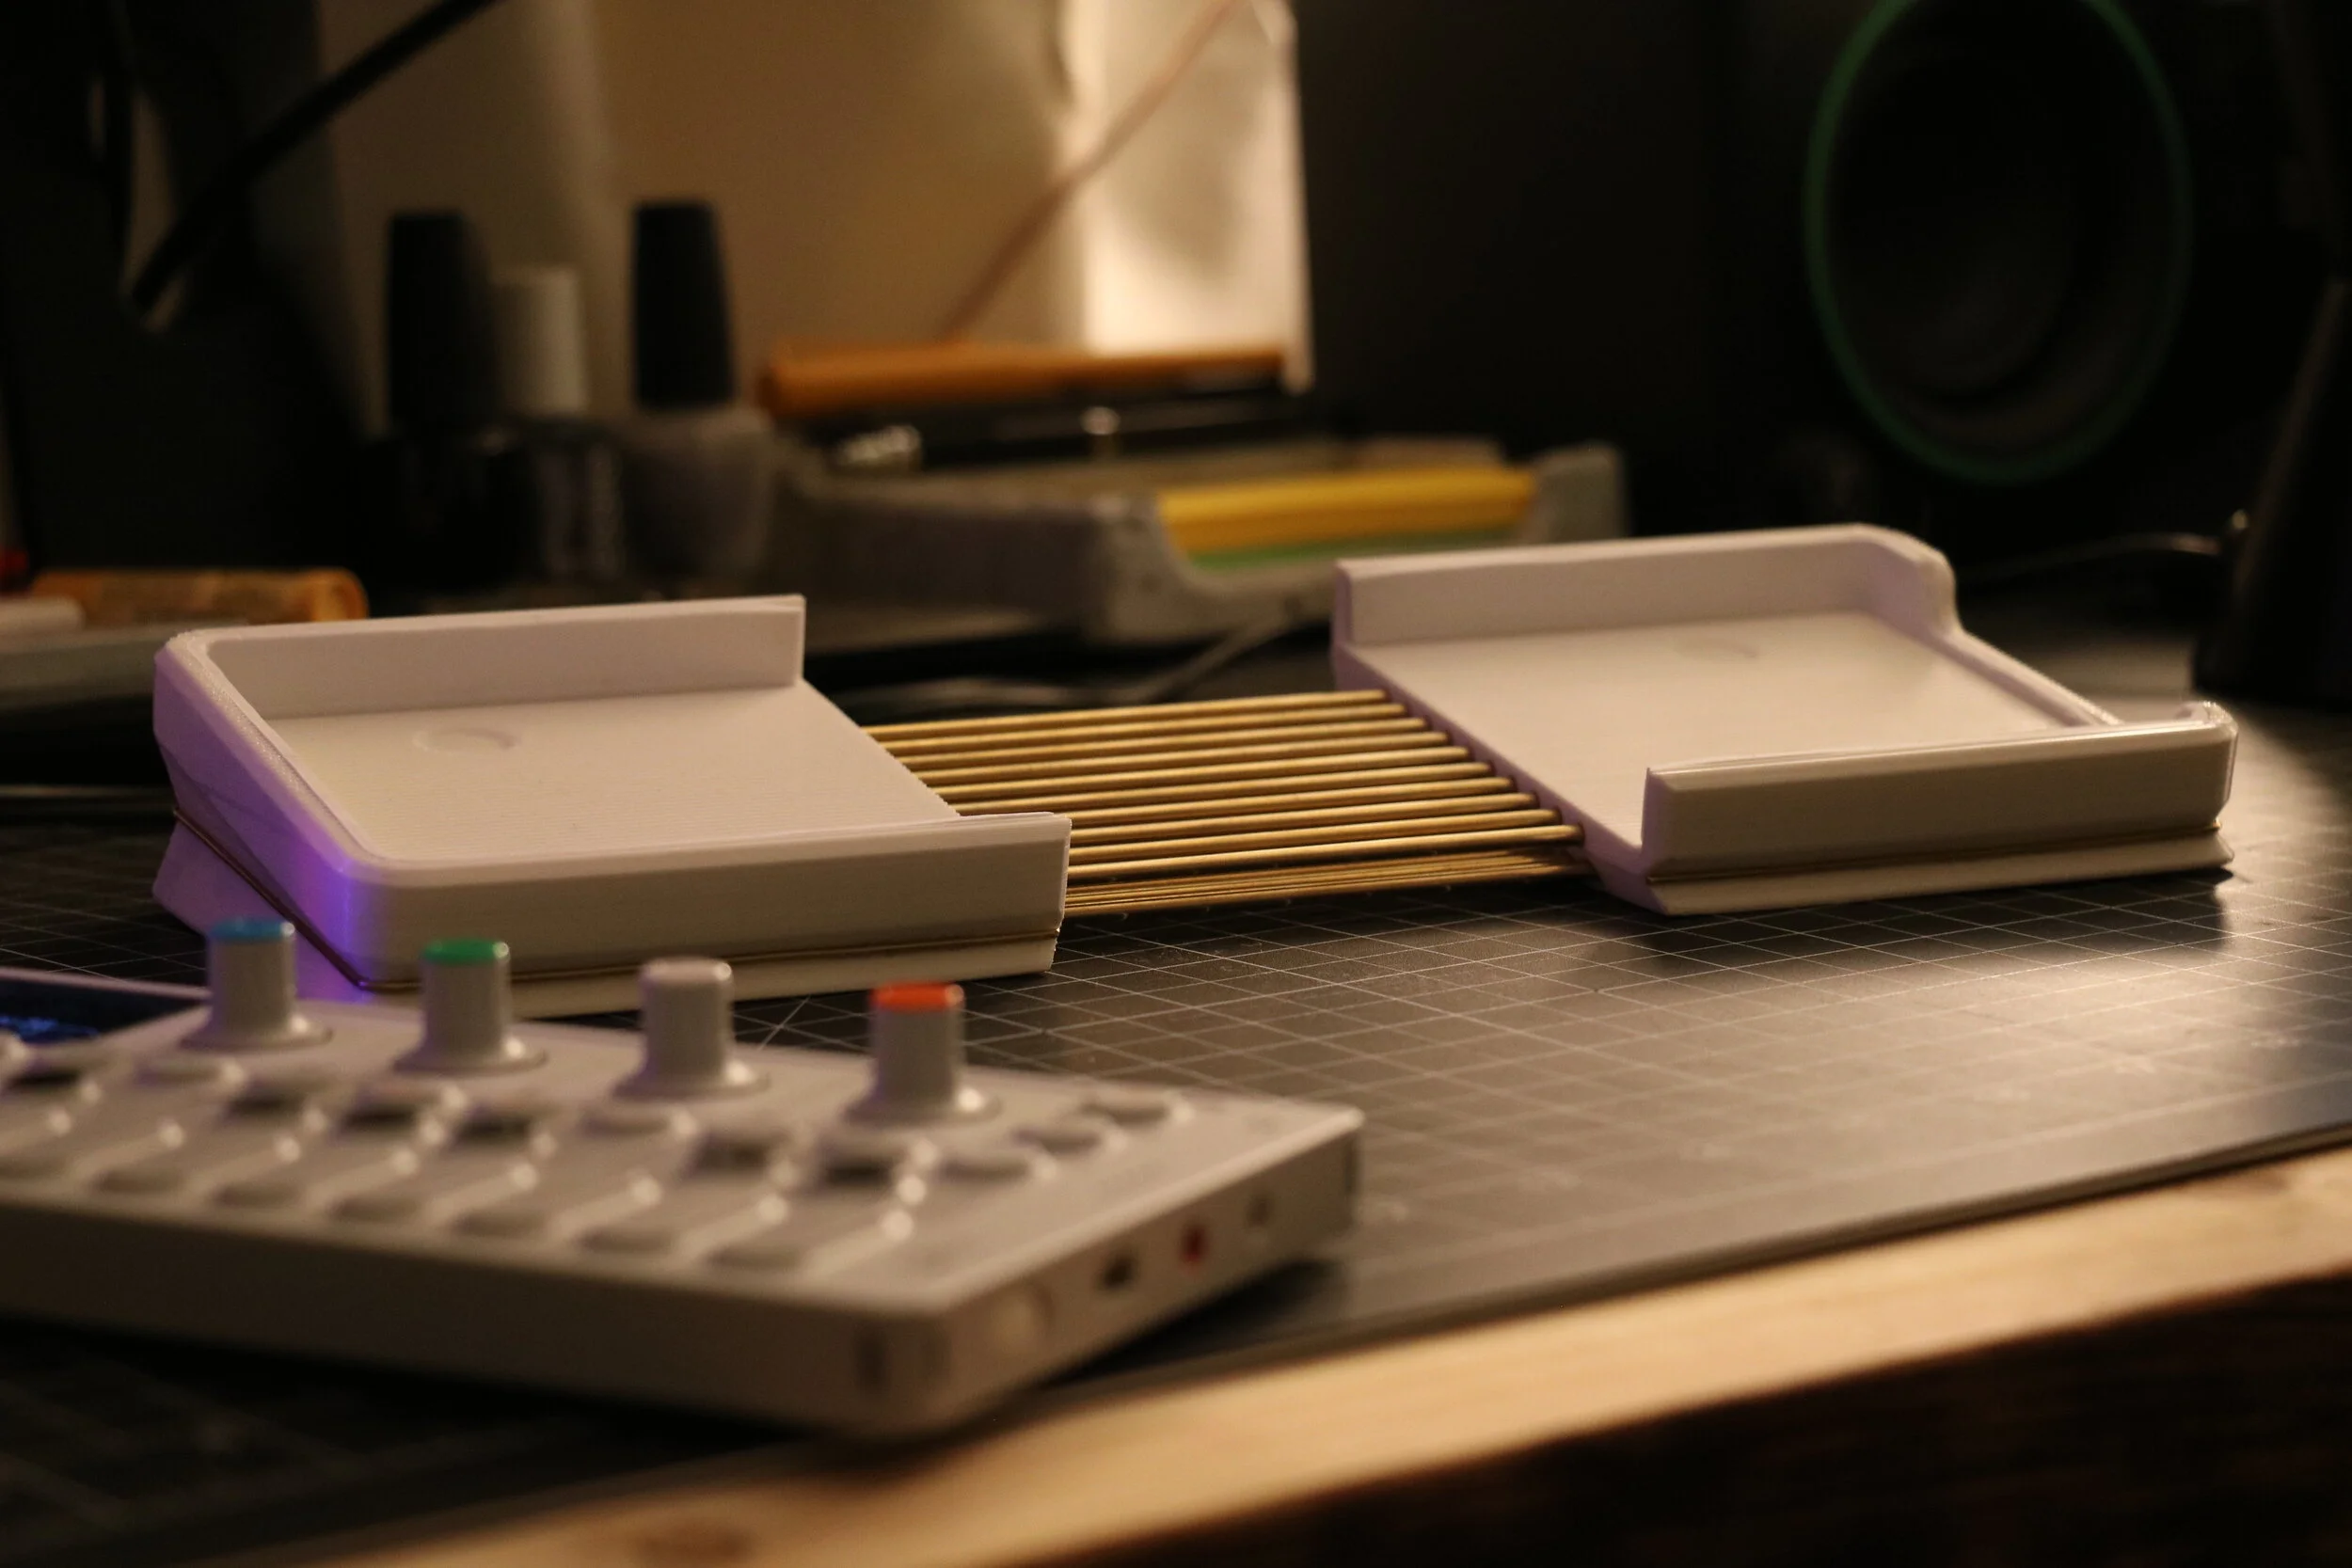
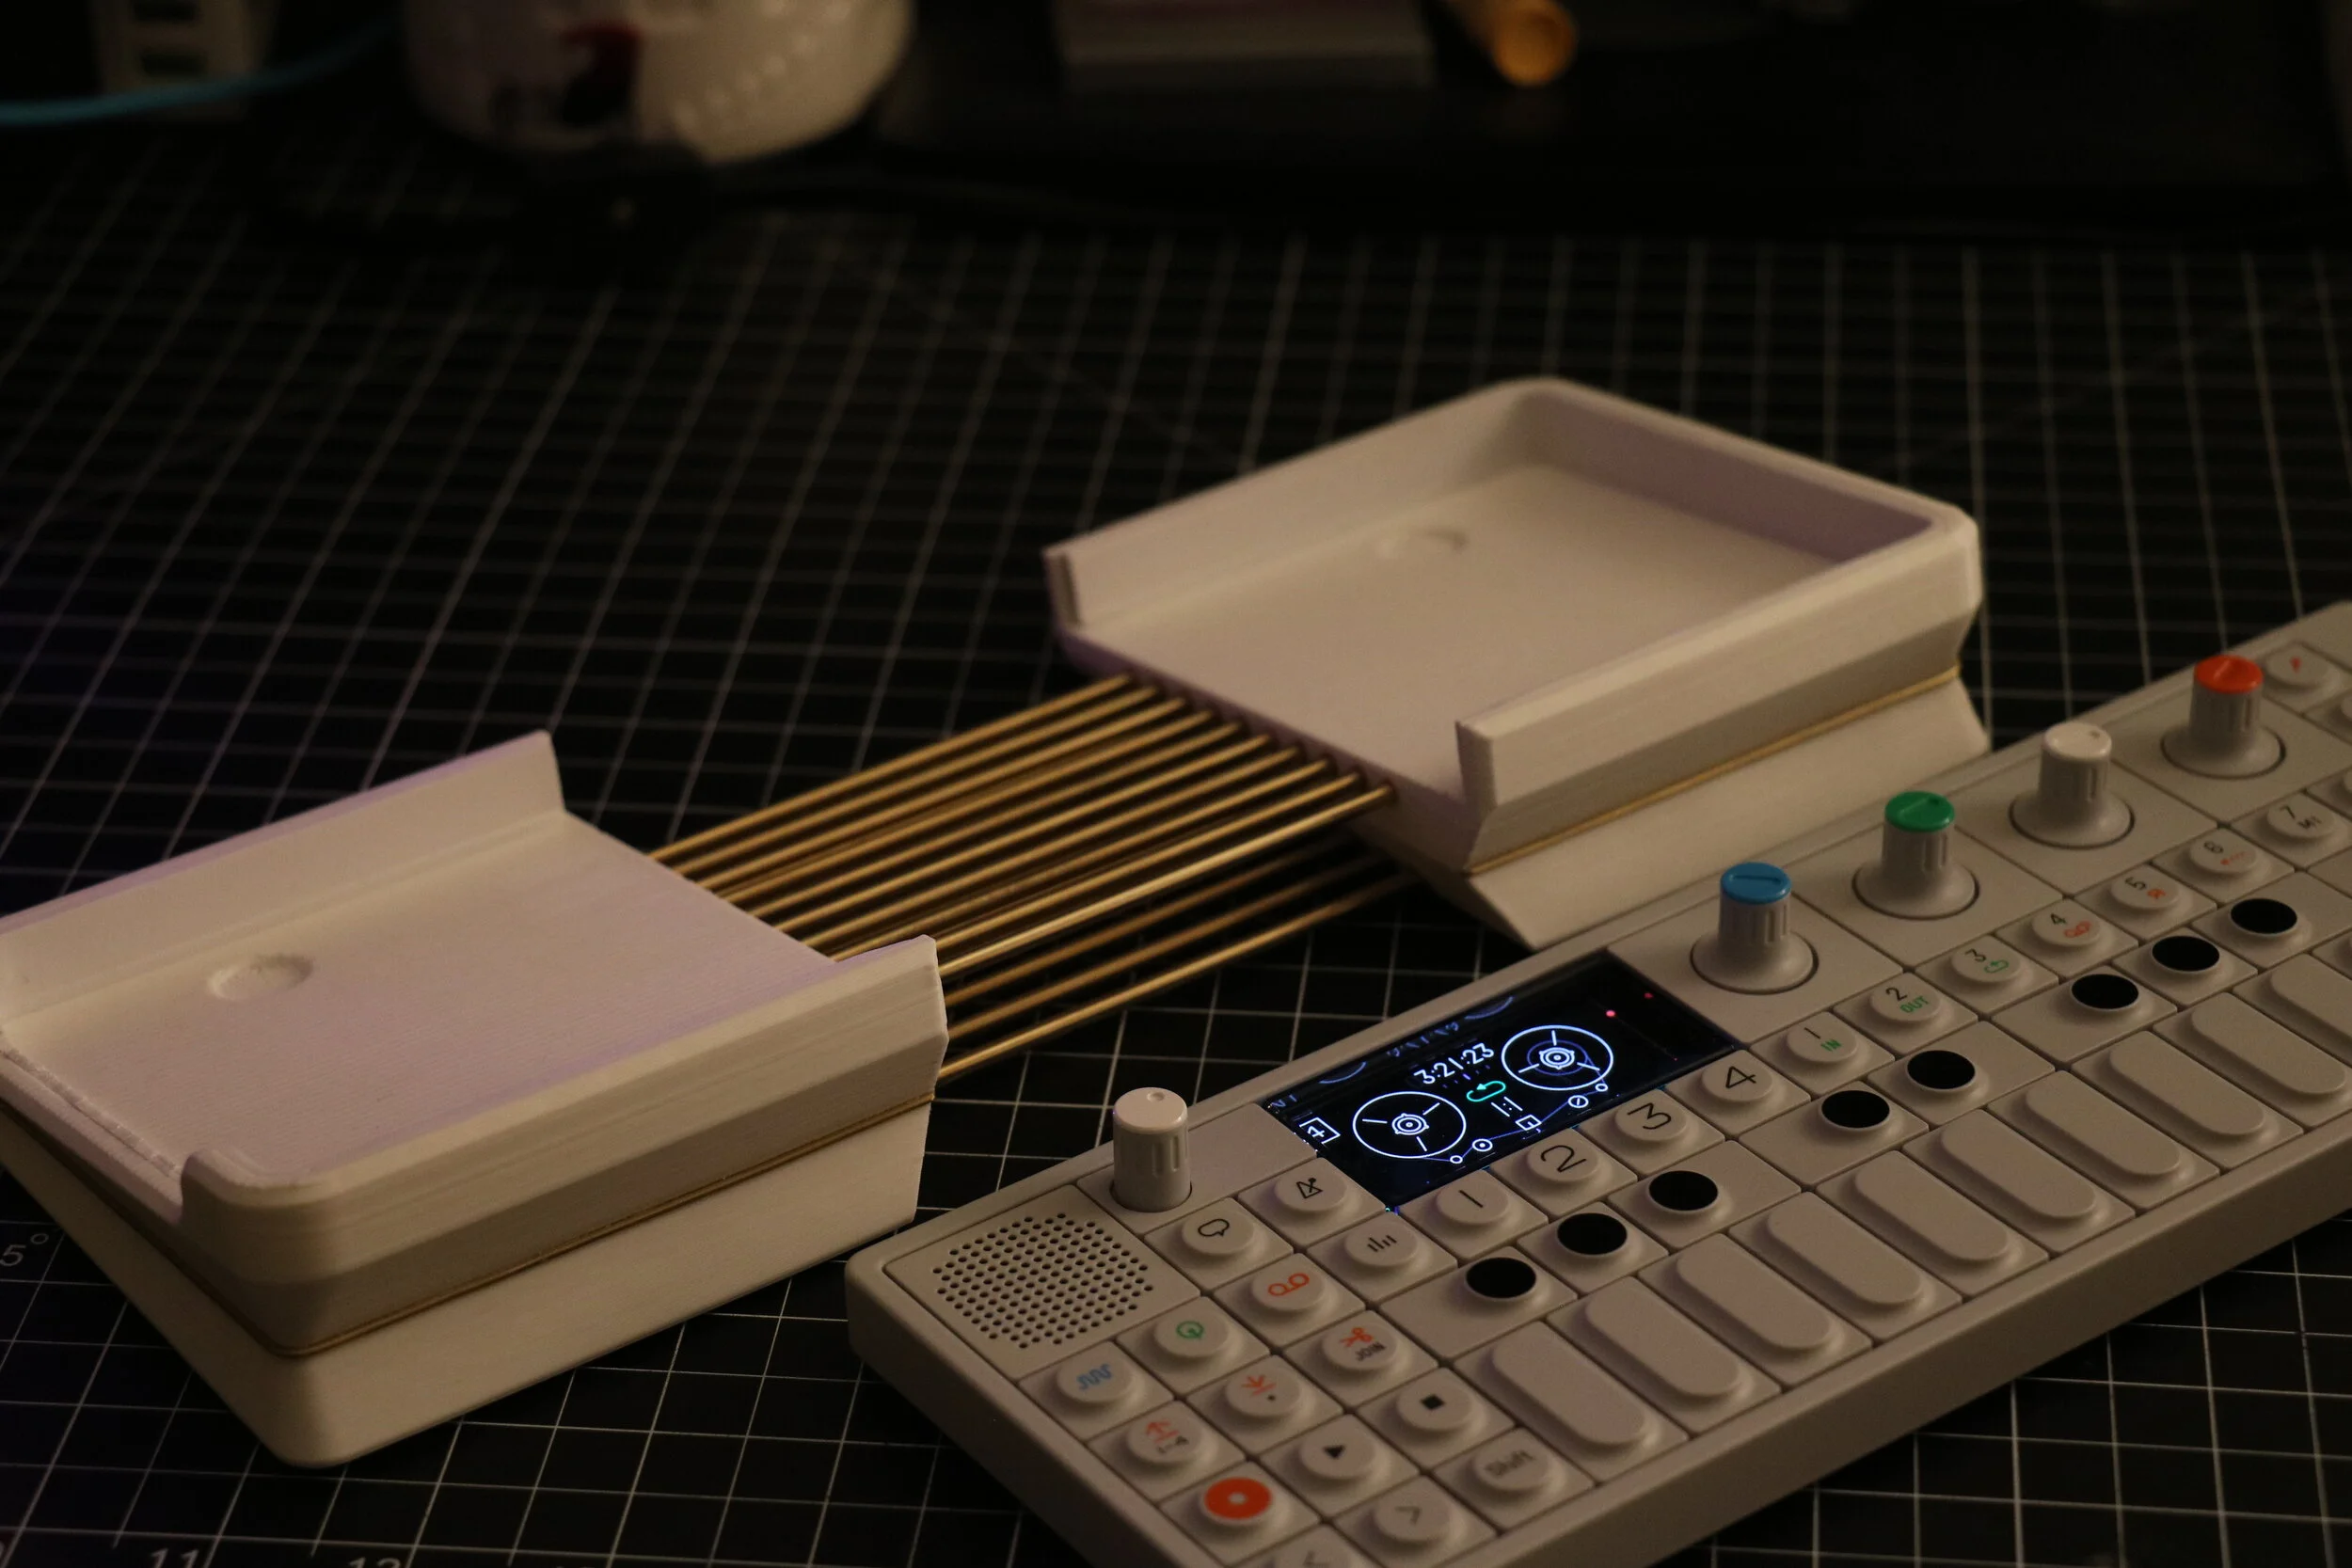
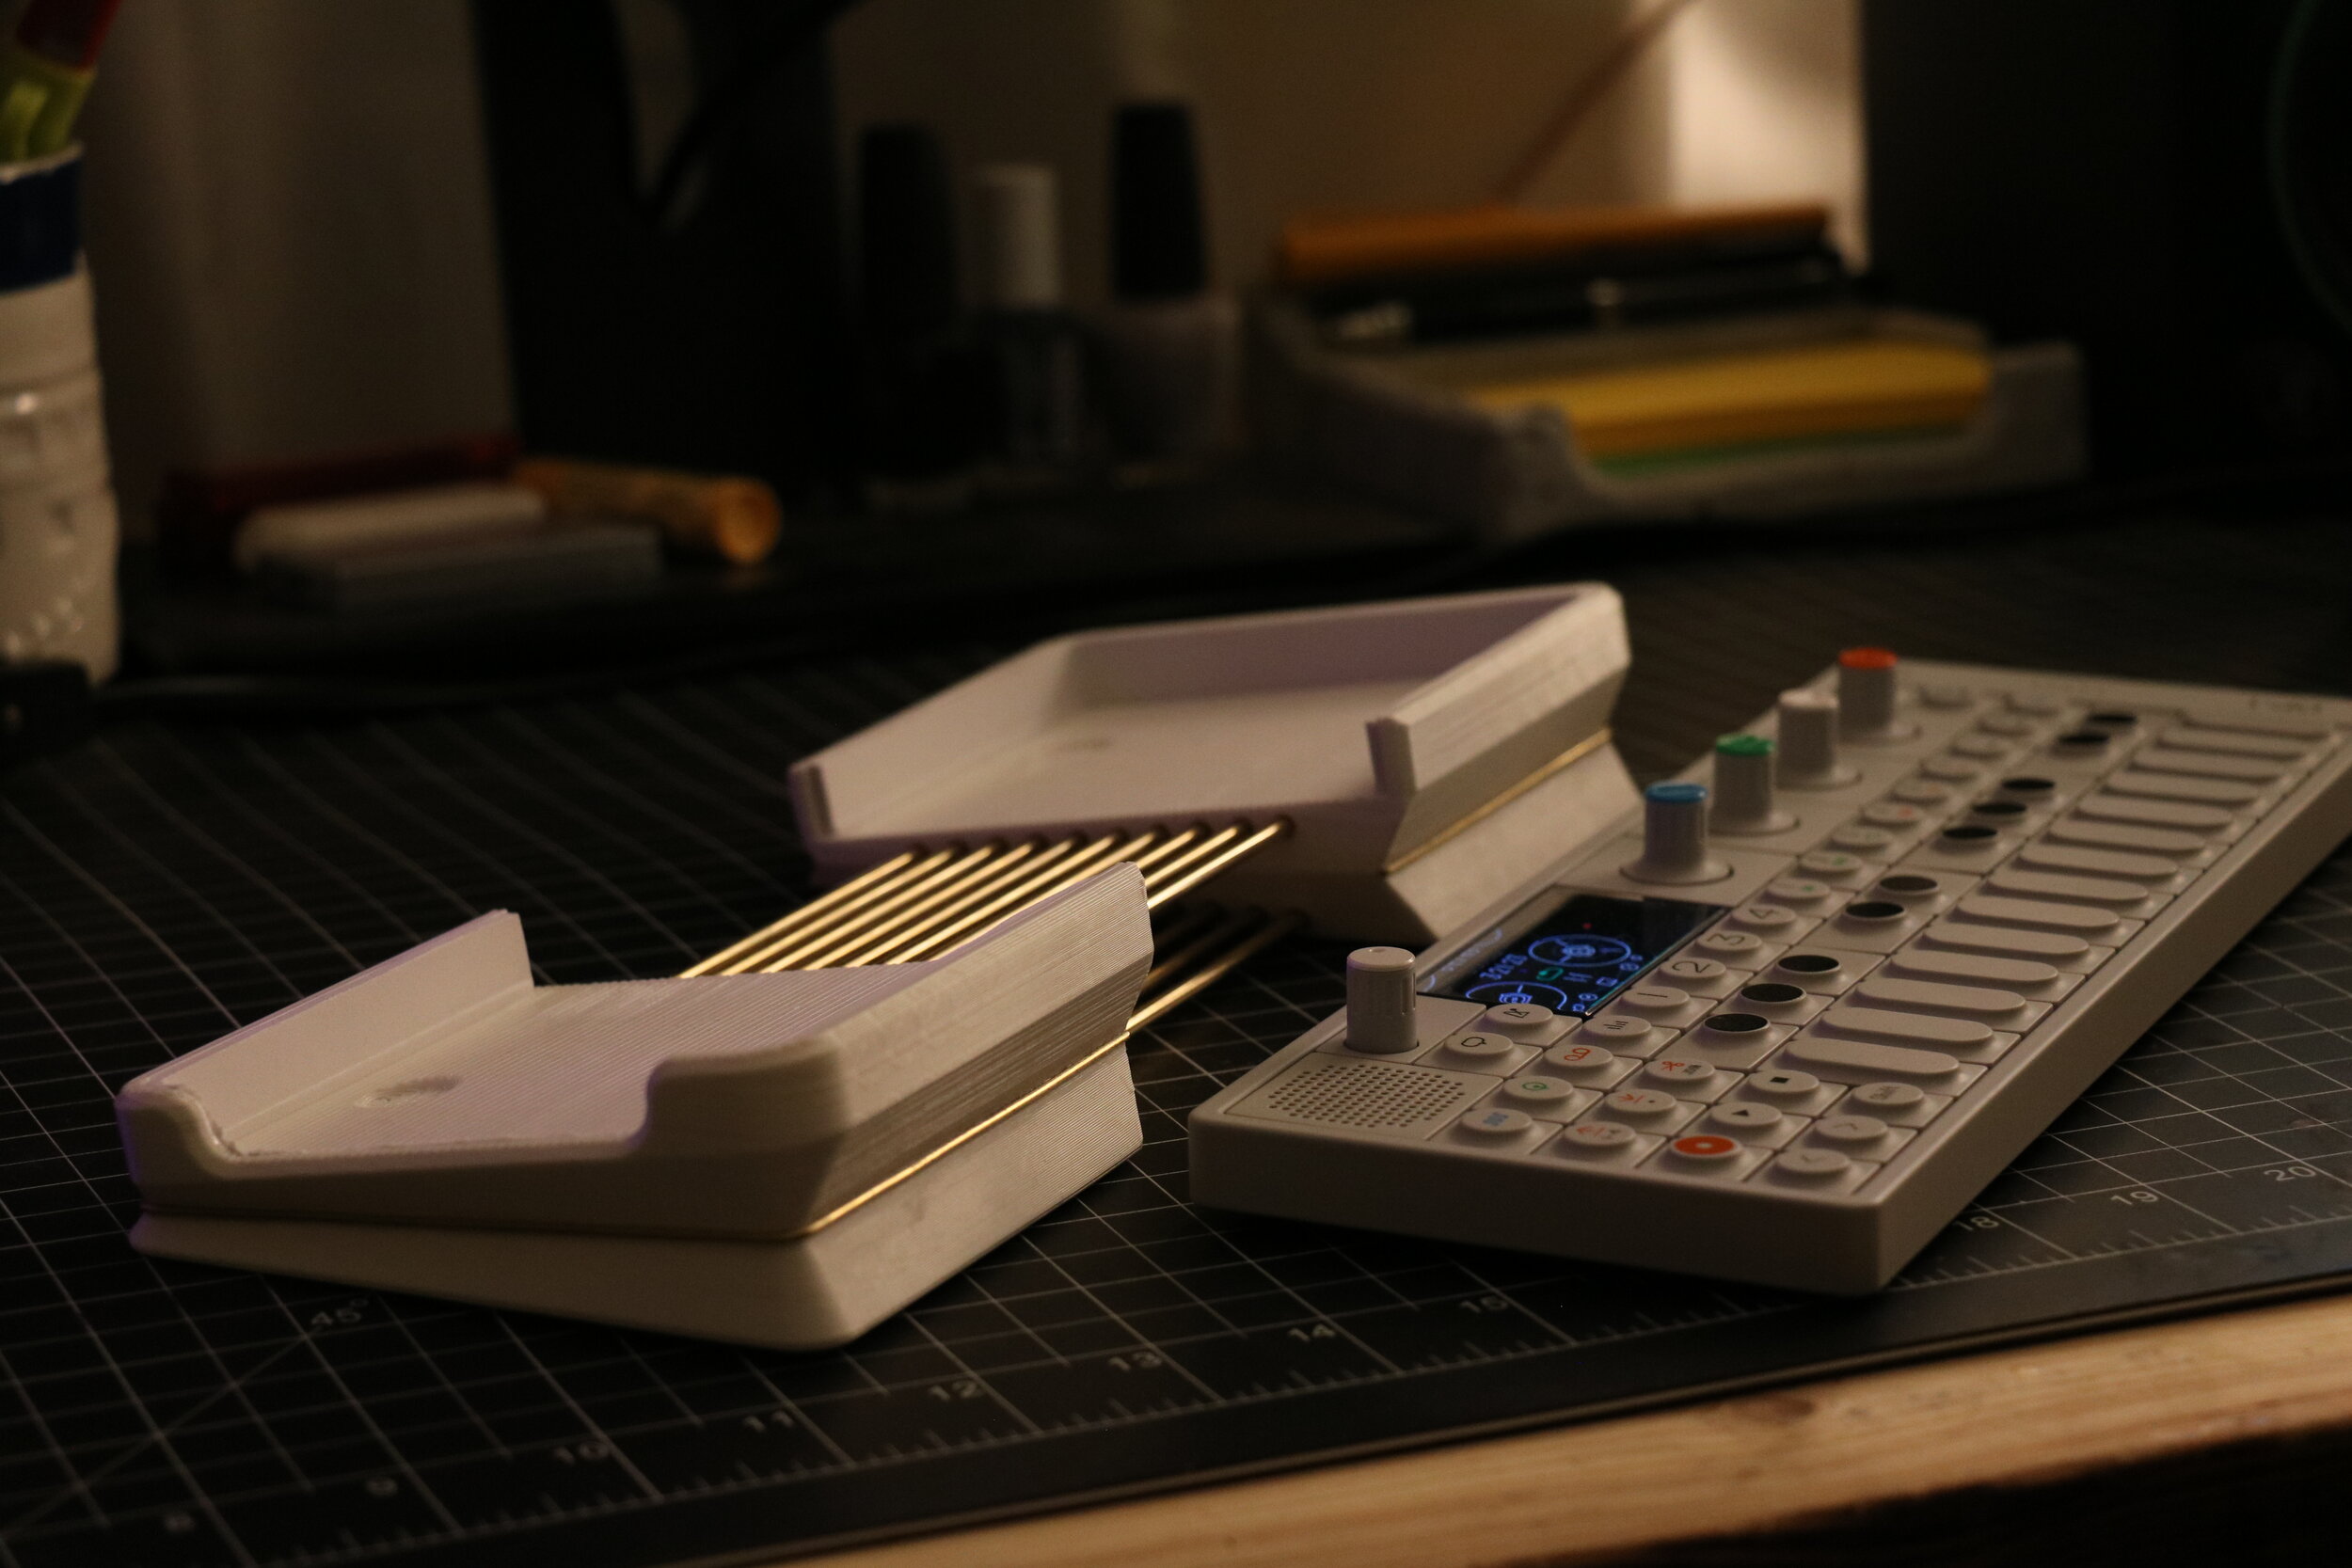
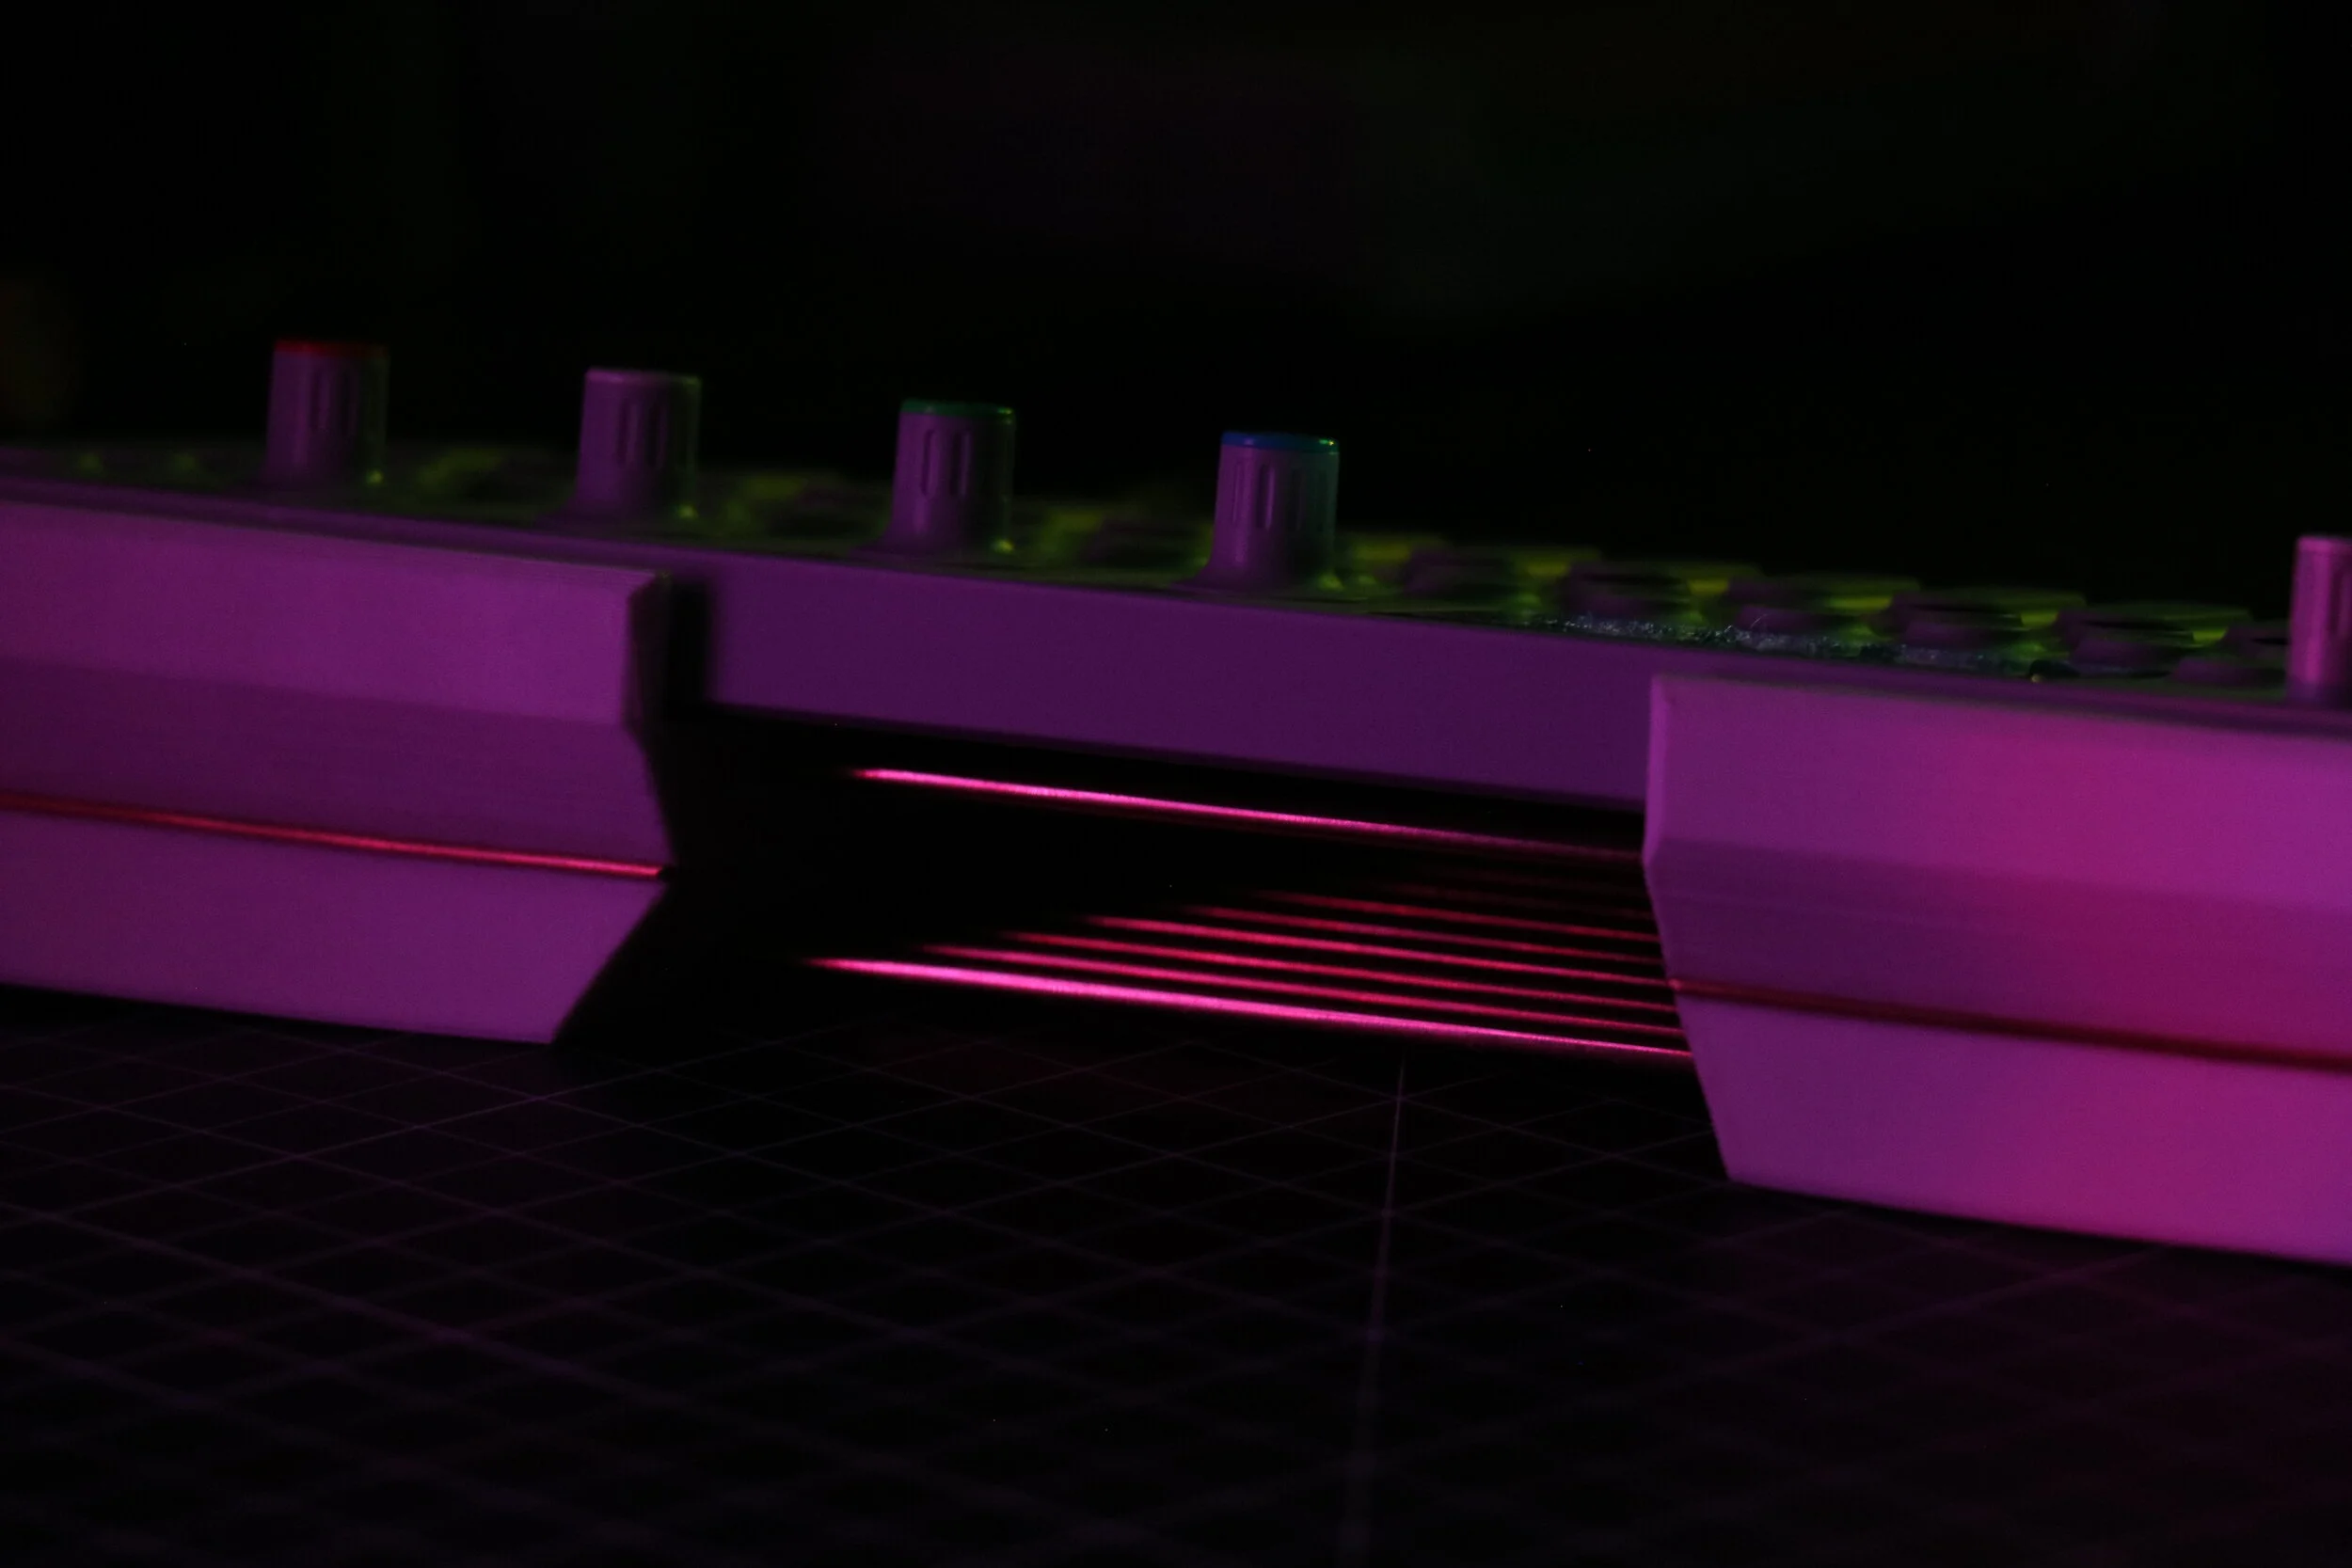
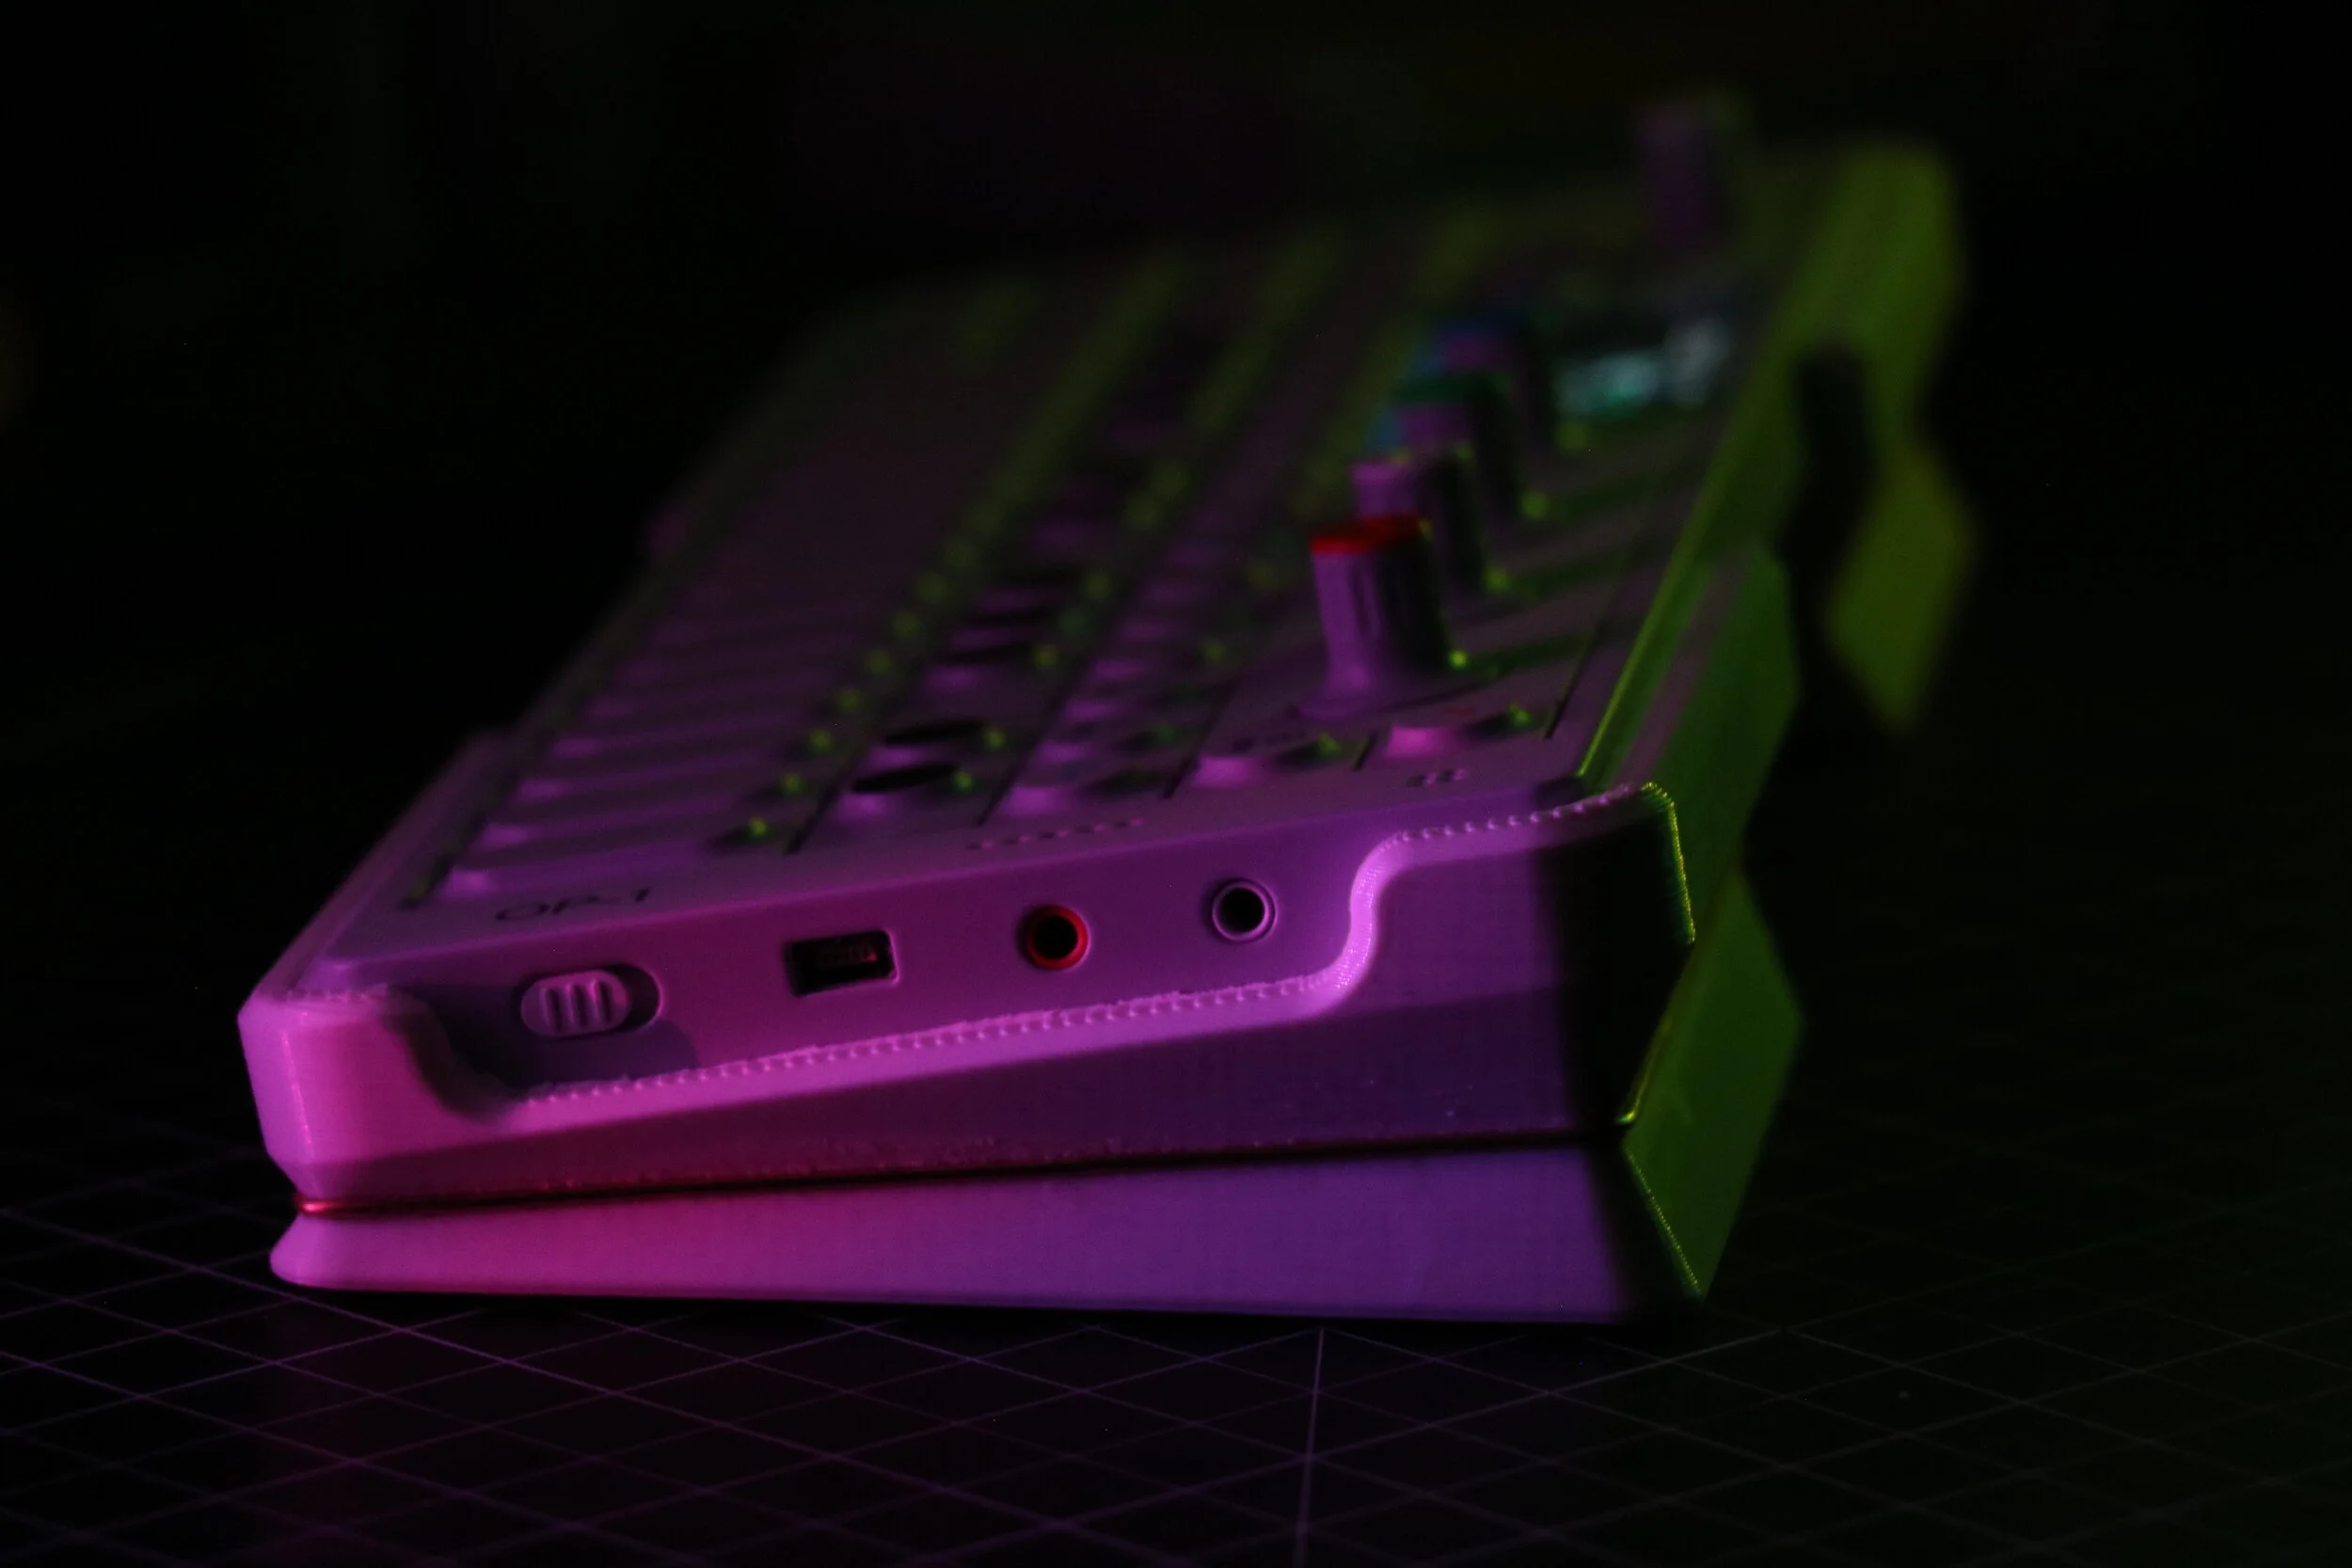
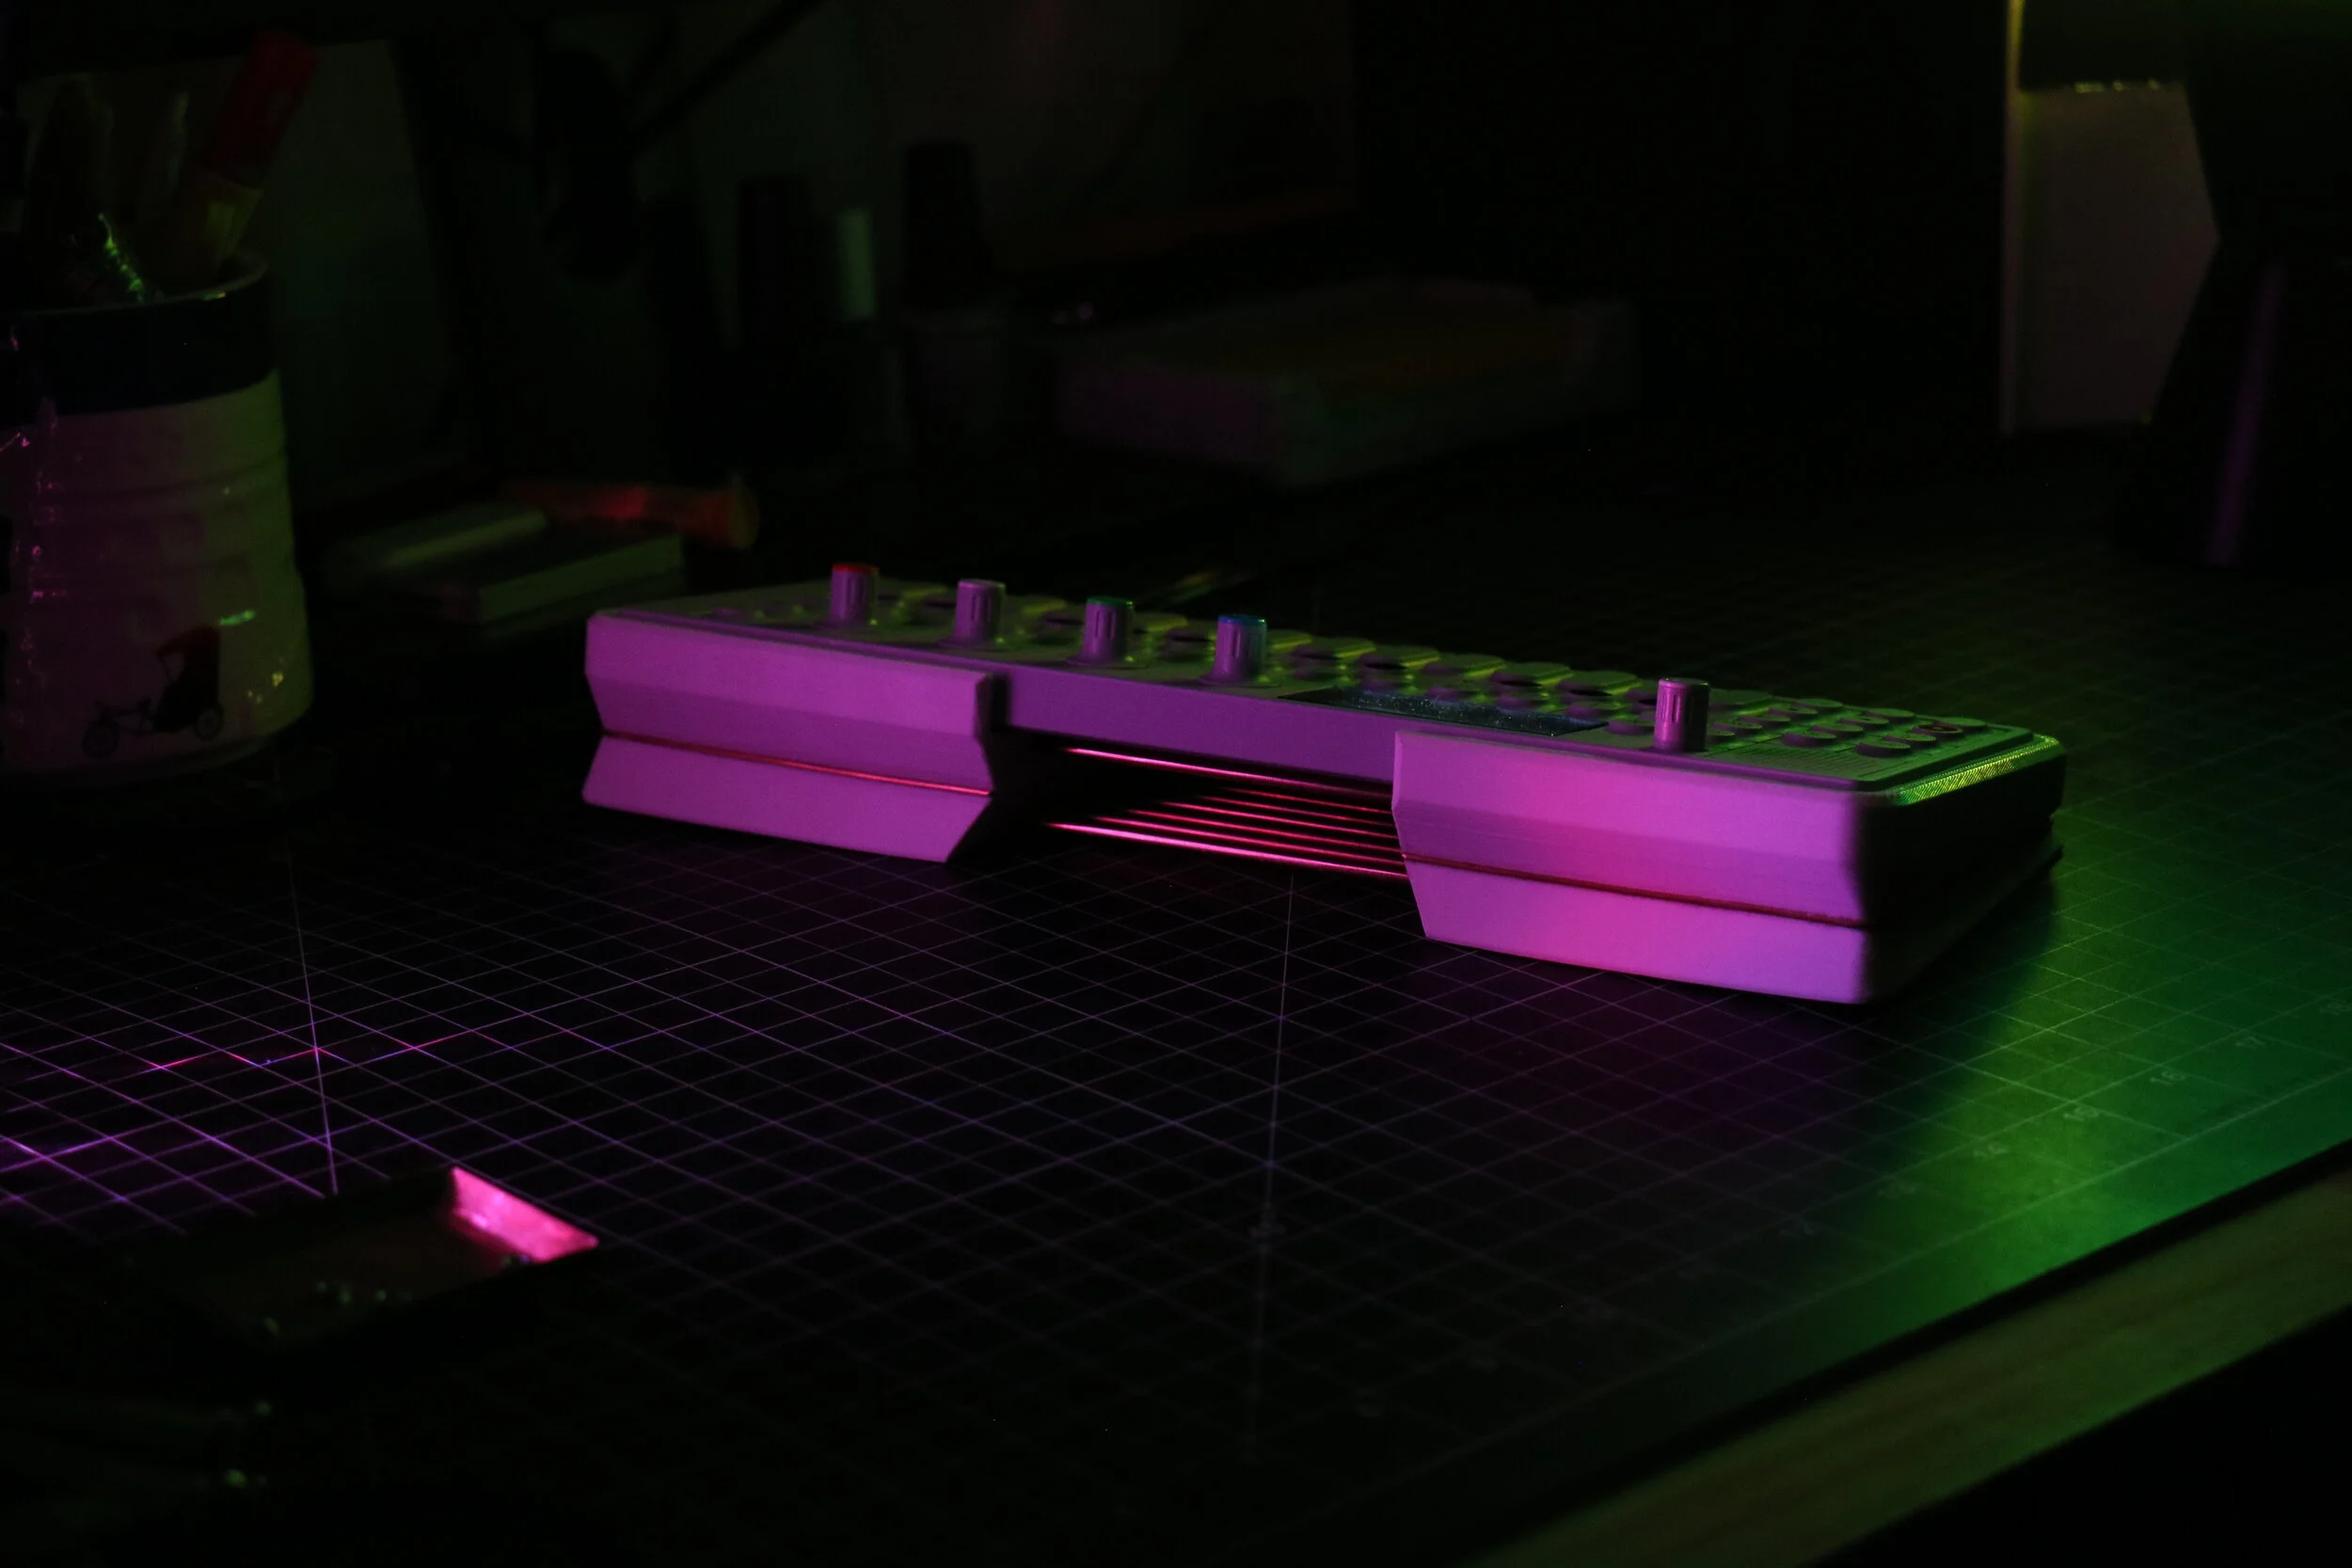
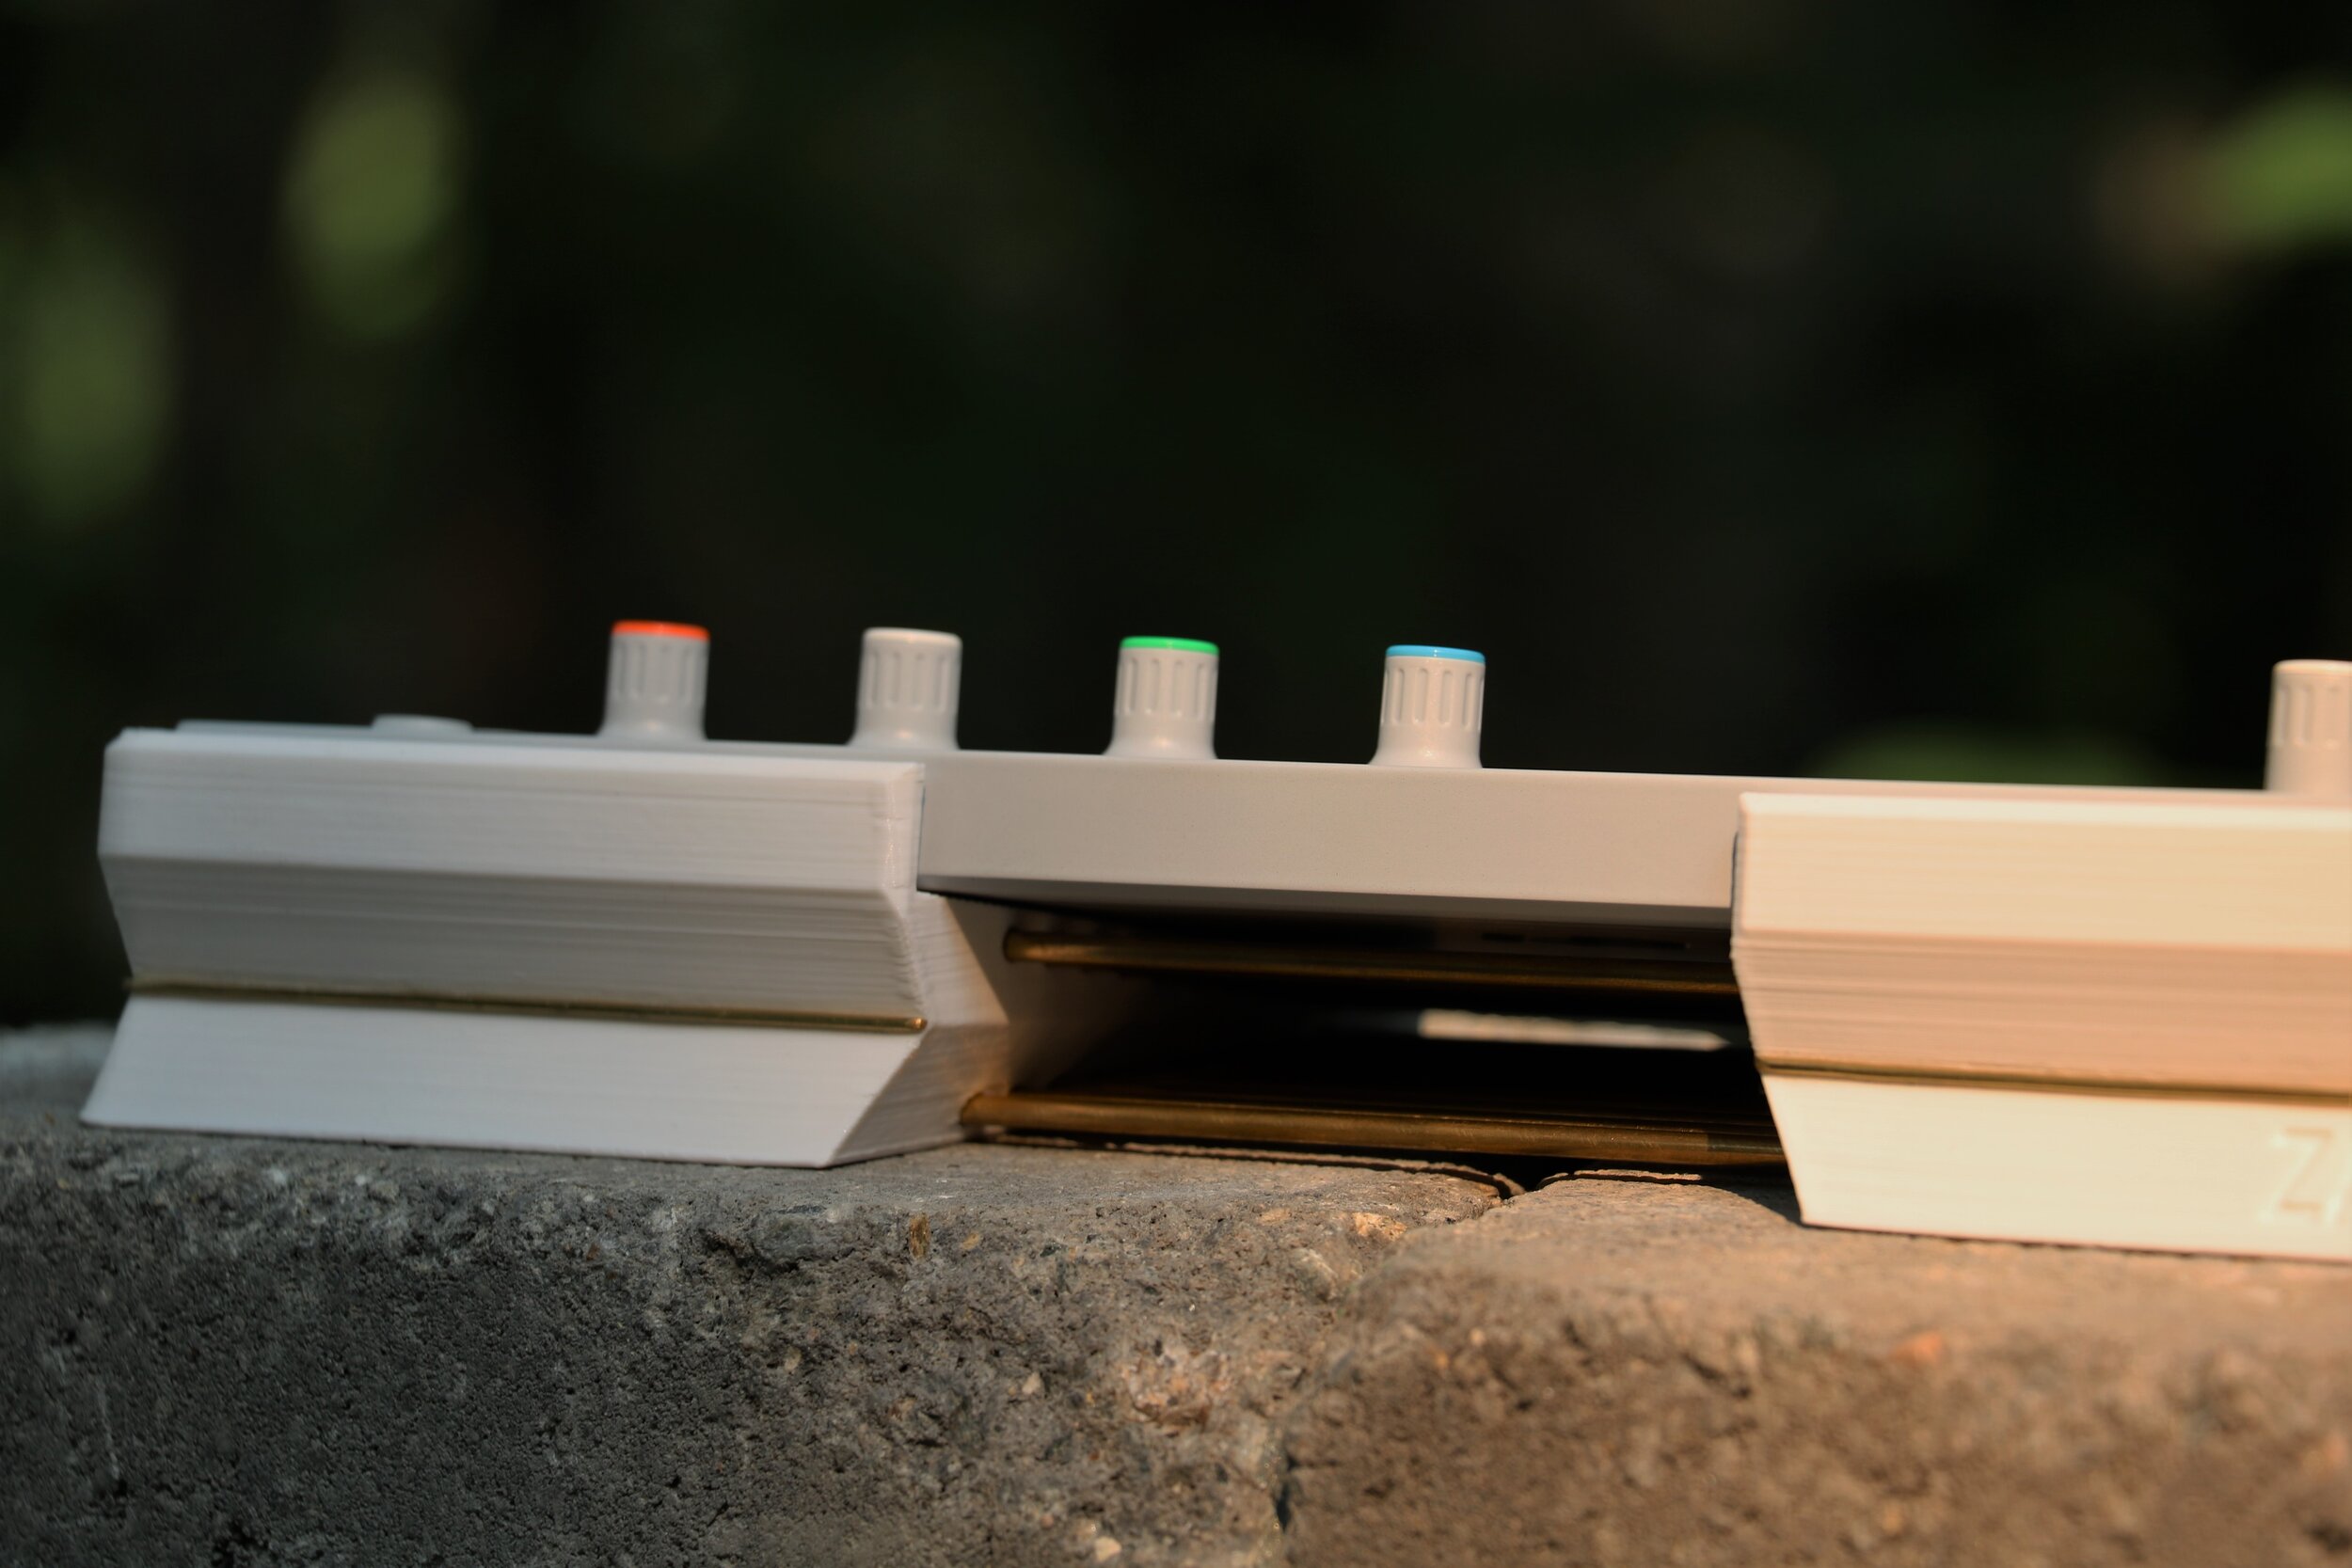
In total this stand is made from 26 components. Two 3D printed body halves, printed with a large 0.8 mm nozzle in order to speed up printing time and add a noticeable layer height that gives a look of parallel horizontal lines running across the face of the stand. This visual effect of horizontal striations works in tandem with the twenty 1/8th inch brass rods spanning the central gap to give a bit of a visual flow to the overall product, which can be seen promotional photos below. The brass “rim” that runs along the outside of the stand is simply two 16 gauge brass wires, bent to shape by hand. Along the inner edge of the stand, there are two white foam strips to hold the OP-1 firmly in place and prevent any damage to the beautiful cerakoted CNC milled aluminum chassis of the OP-1. For final assembly, two-part epoxy resin and cyanoacrylate glue is utilized.

Upon completion of the design and testing process, I was quite pleased with the results and decided to move ahead with making this a product that other music enthusiasts could purchase to improve their experience using the OP-1. This of course led me into the promotion and marketing phase of this project, in which I had the opportunity to bring in one of my other passions - photography. I found that this is where some of the more unique aspects of this stand’s geometry truly shone brightest. As any engineer can attest, there is an immense difference between seeing a project you’re working on represented within a CAD software on the screen versus seeing the real thing as a final polished product in person. Furthermore, I found the sharp angles that make up the base of this stand are far more prominent and interesting to look at in person, and the brass accents improved the appearance much more than I had originally expected.
The overall fit and finish of this design is truly something I am quite proud of, and I believe I managed to achieve all my initial hopes for this design and then some. Functionally, the stand offers excellent protection to the OP-1, covering all but the sections needed for the standard operation of the synth without adding unnecessary bulk or reducing the usability of the device. The shift from lining the entire interior in foam padding to solely covering the side walls proved to be a great decision, as I much prefer the 3D printed finish as it adds a nice touch of texture. Additionally, I found the foam siding to be more than sufficient to hold the OP-1 securely, allowing the stand to be turned upside-down and even shaken without the OP-1 slipping out or shifting position at all. This was one of the aspects that took the greatest amount of prototyping and test printing, as I wanted the end user to be able to place the device into the stand easily with gentle pressure put on the edges of the OP-1 while still offering a very secure fit. The stand also outperformed my initial expectations in regards to rigidity - this was one of my greatest concerns when I started work on the second iteration of the design which of course is split into two halves. The fit of the brass rods into either half of the stand is quite precise, as I reamed each mounting hole after printing to ensure dimensional accuracy to accept both the rods and the epoxy resin used to create a permanent bond between the parts.
Below are several photos of the finished stand, which has been a great addition to my OP-1 and served me quite well throughout numerous hours of use since the completion of the project. The outdoor photos are taken of a second stand I made for a client in Texas who is the first official customer of one of my projects.
