DCG Logo Stamp

When I first started working on this site with the intent of it being a living portfolio of my projects, I decided to make a monogram to act as a personal logo. My goal was to create a very simplistic design that would have pleasing symmetry. Fortunately my initials lend themselves to that goal nicely which has led to a personal logo that I am quite pleased with. While working on the design for my OP-1 stand, I decided to offer the stands for sale online and was determined to have some extra personal touches for both the packaging and the thank-you notes that would be sent along with any stands sold. I settled on the idea of making a stamp of my DCG monogram so that I could add some branding to the overall package, giving it a somewhat more professional and unique feel which would ideally lead to customers being more satisfied with and confident in their purchase.

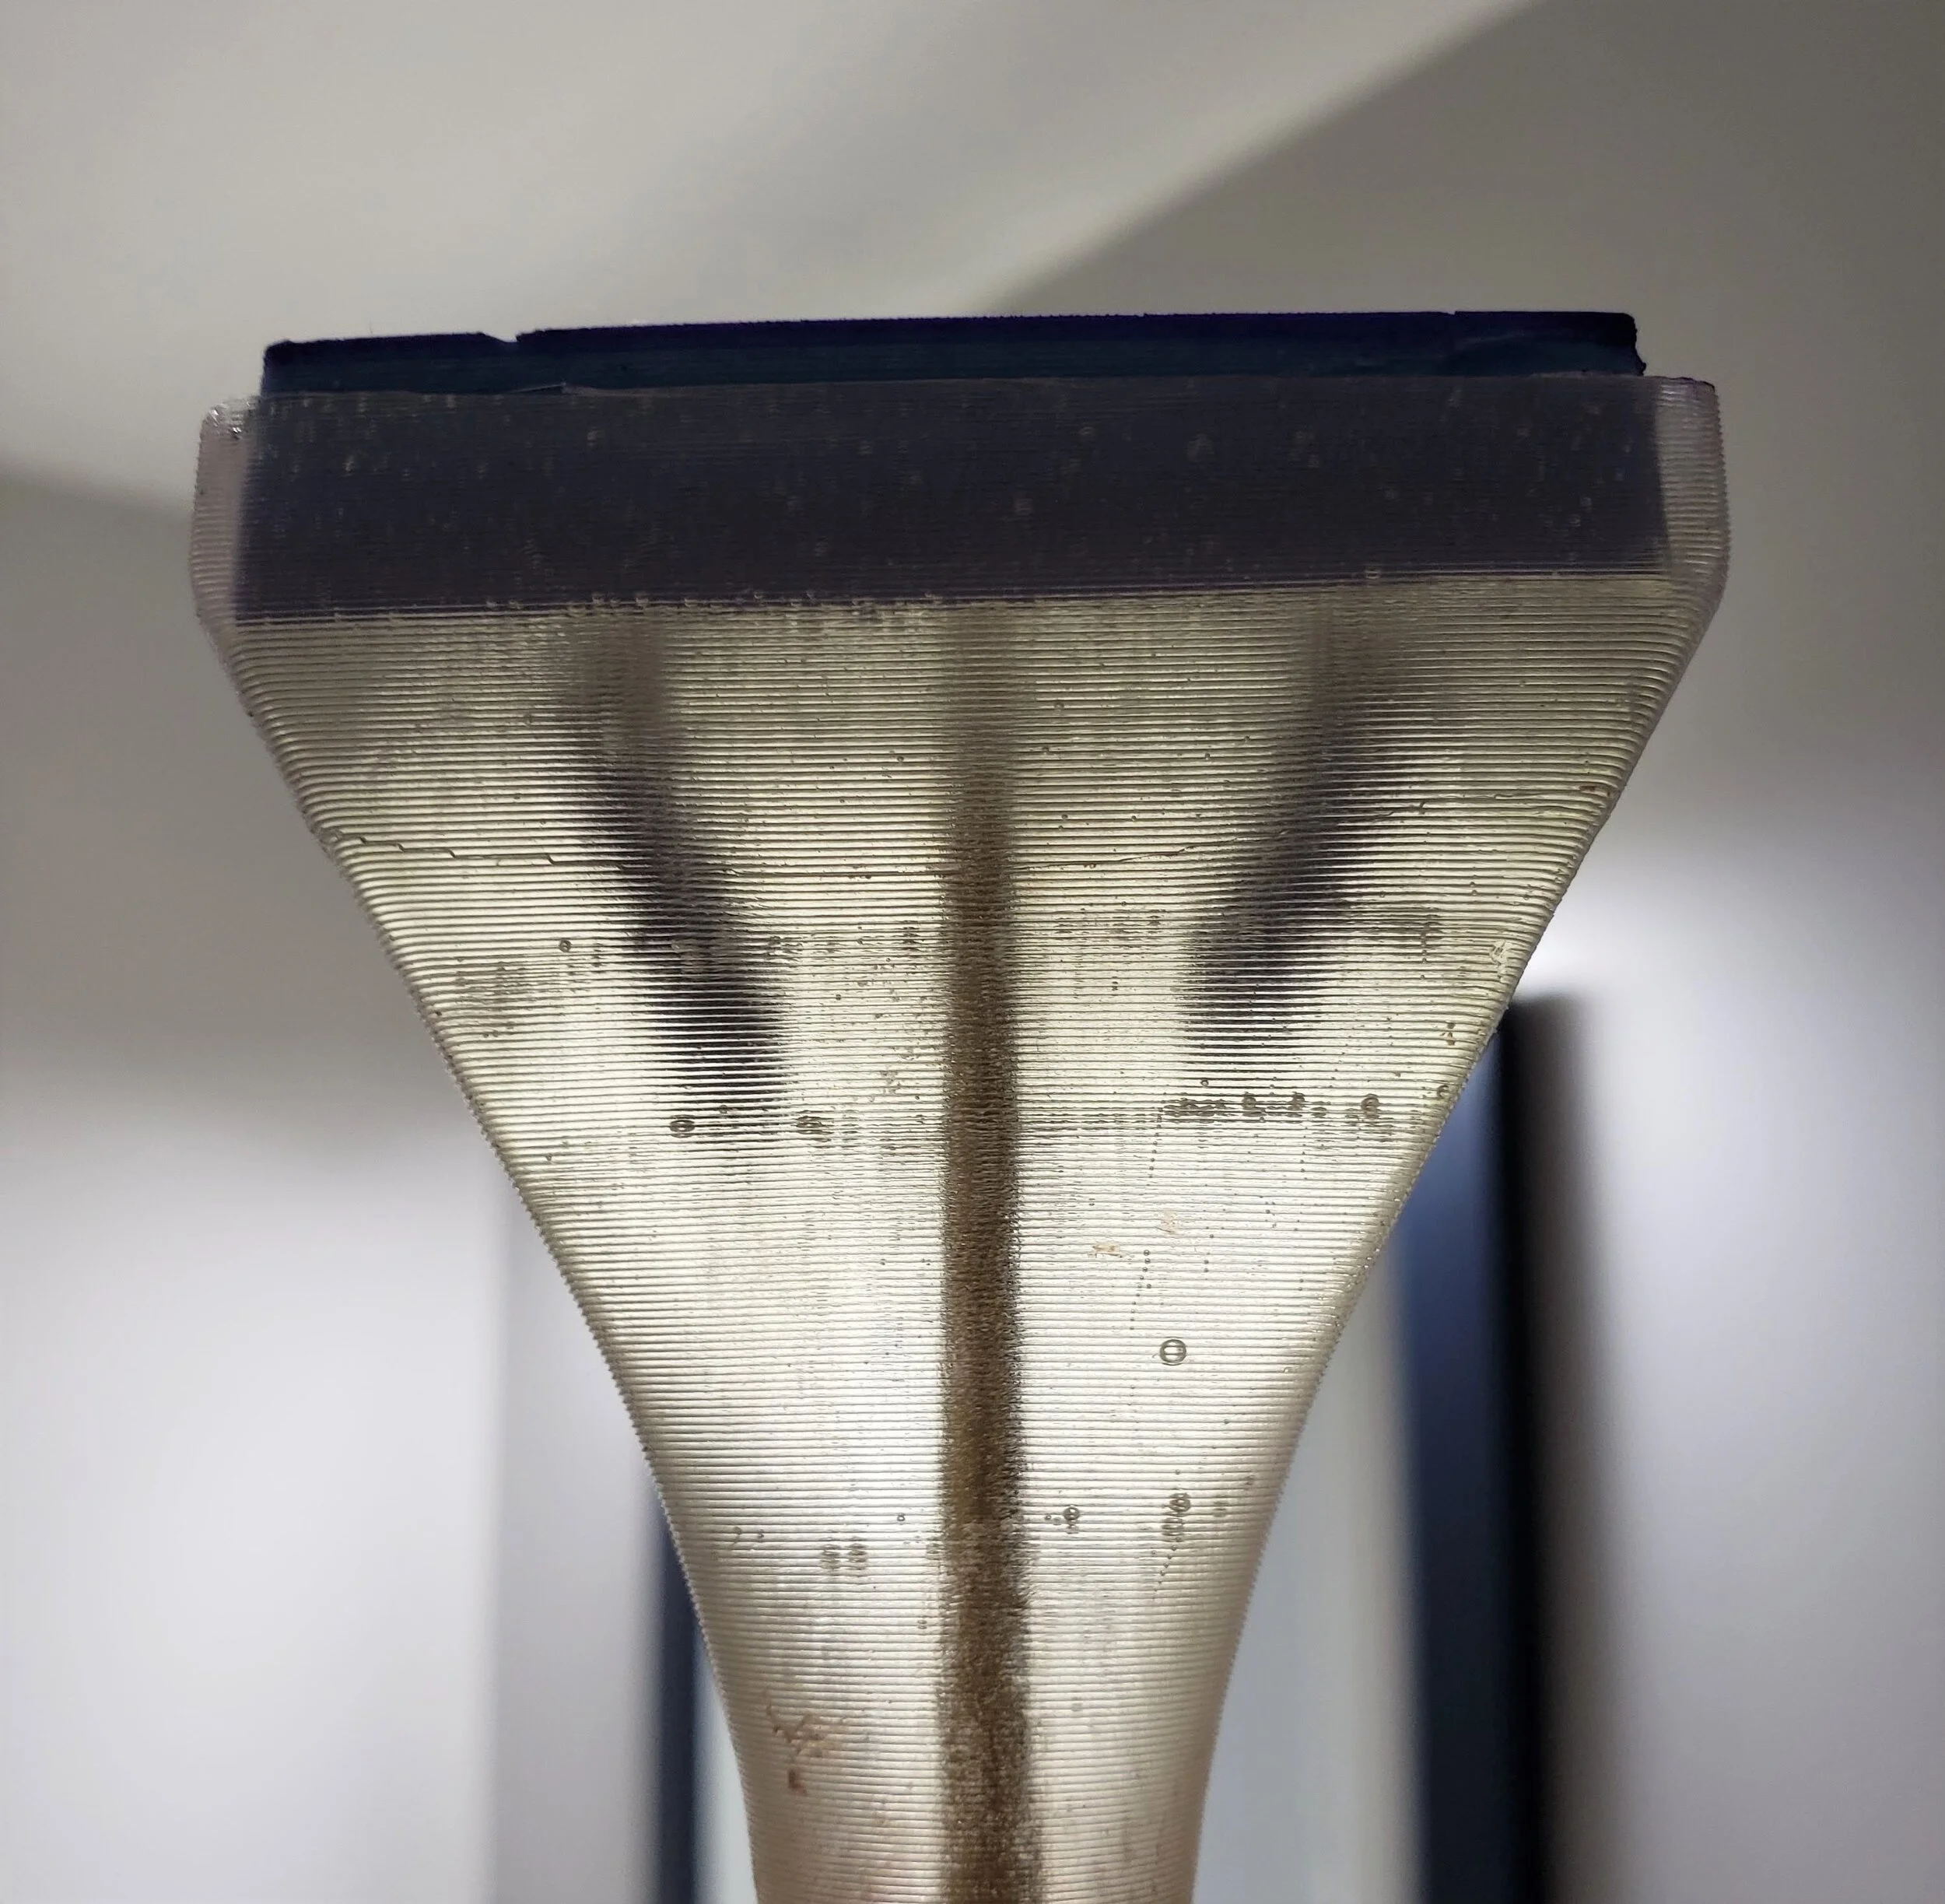
In order to make the handle for my stamp, I 3D printed a single-wall mold and poured in two-part epoxy with a 1/8 inch brass rod running in the center to add rigidity. Above you can see the first stage of the handle with the mold partially removed. At this point, the stamp handle still needs its silicone stamp portion and the surrounding epoxy walls to hold the silicone in place.

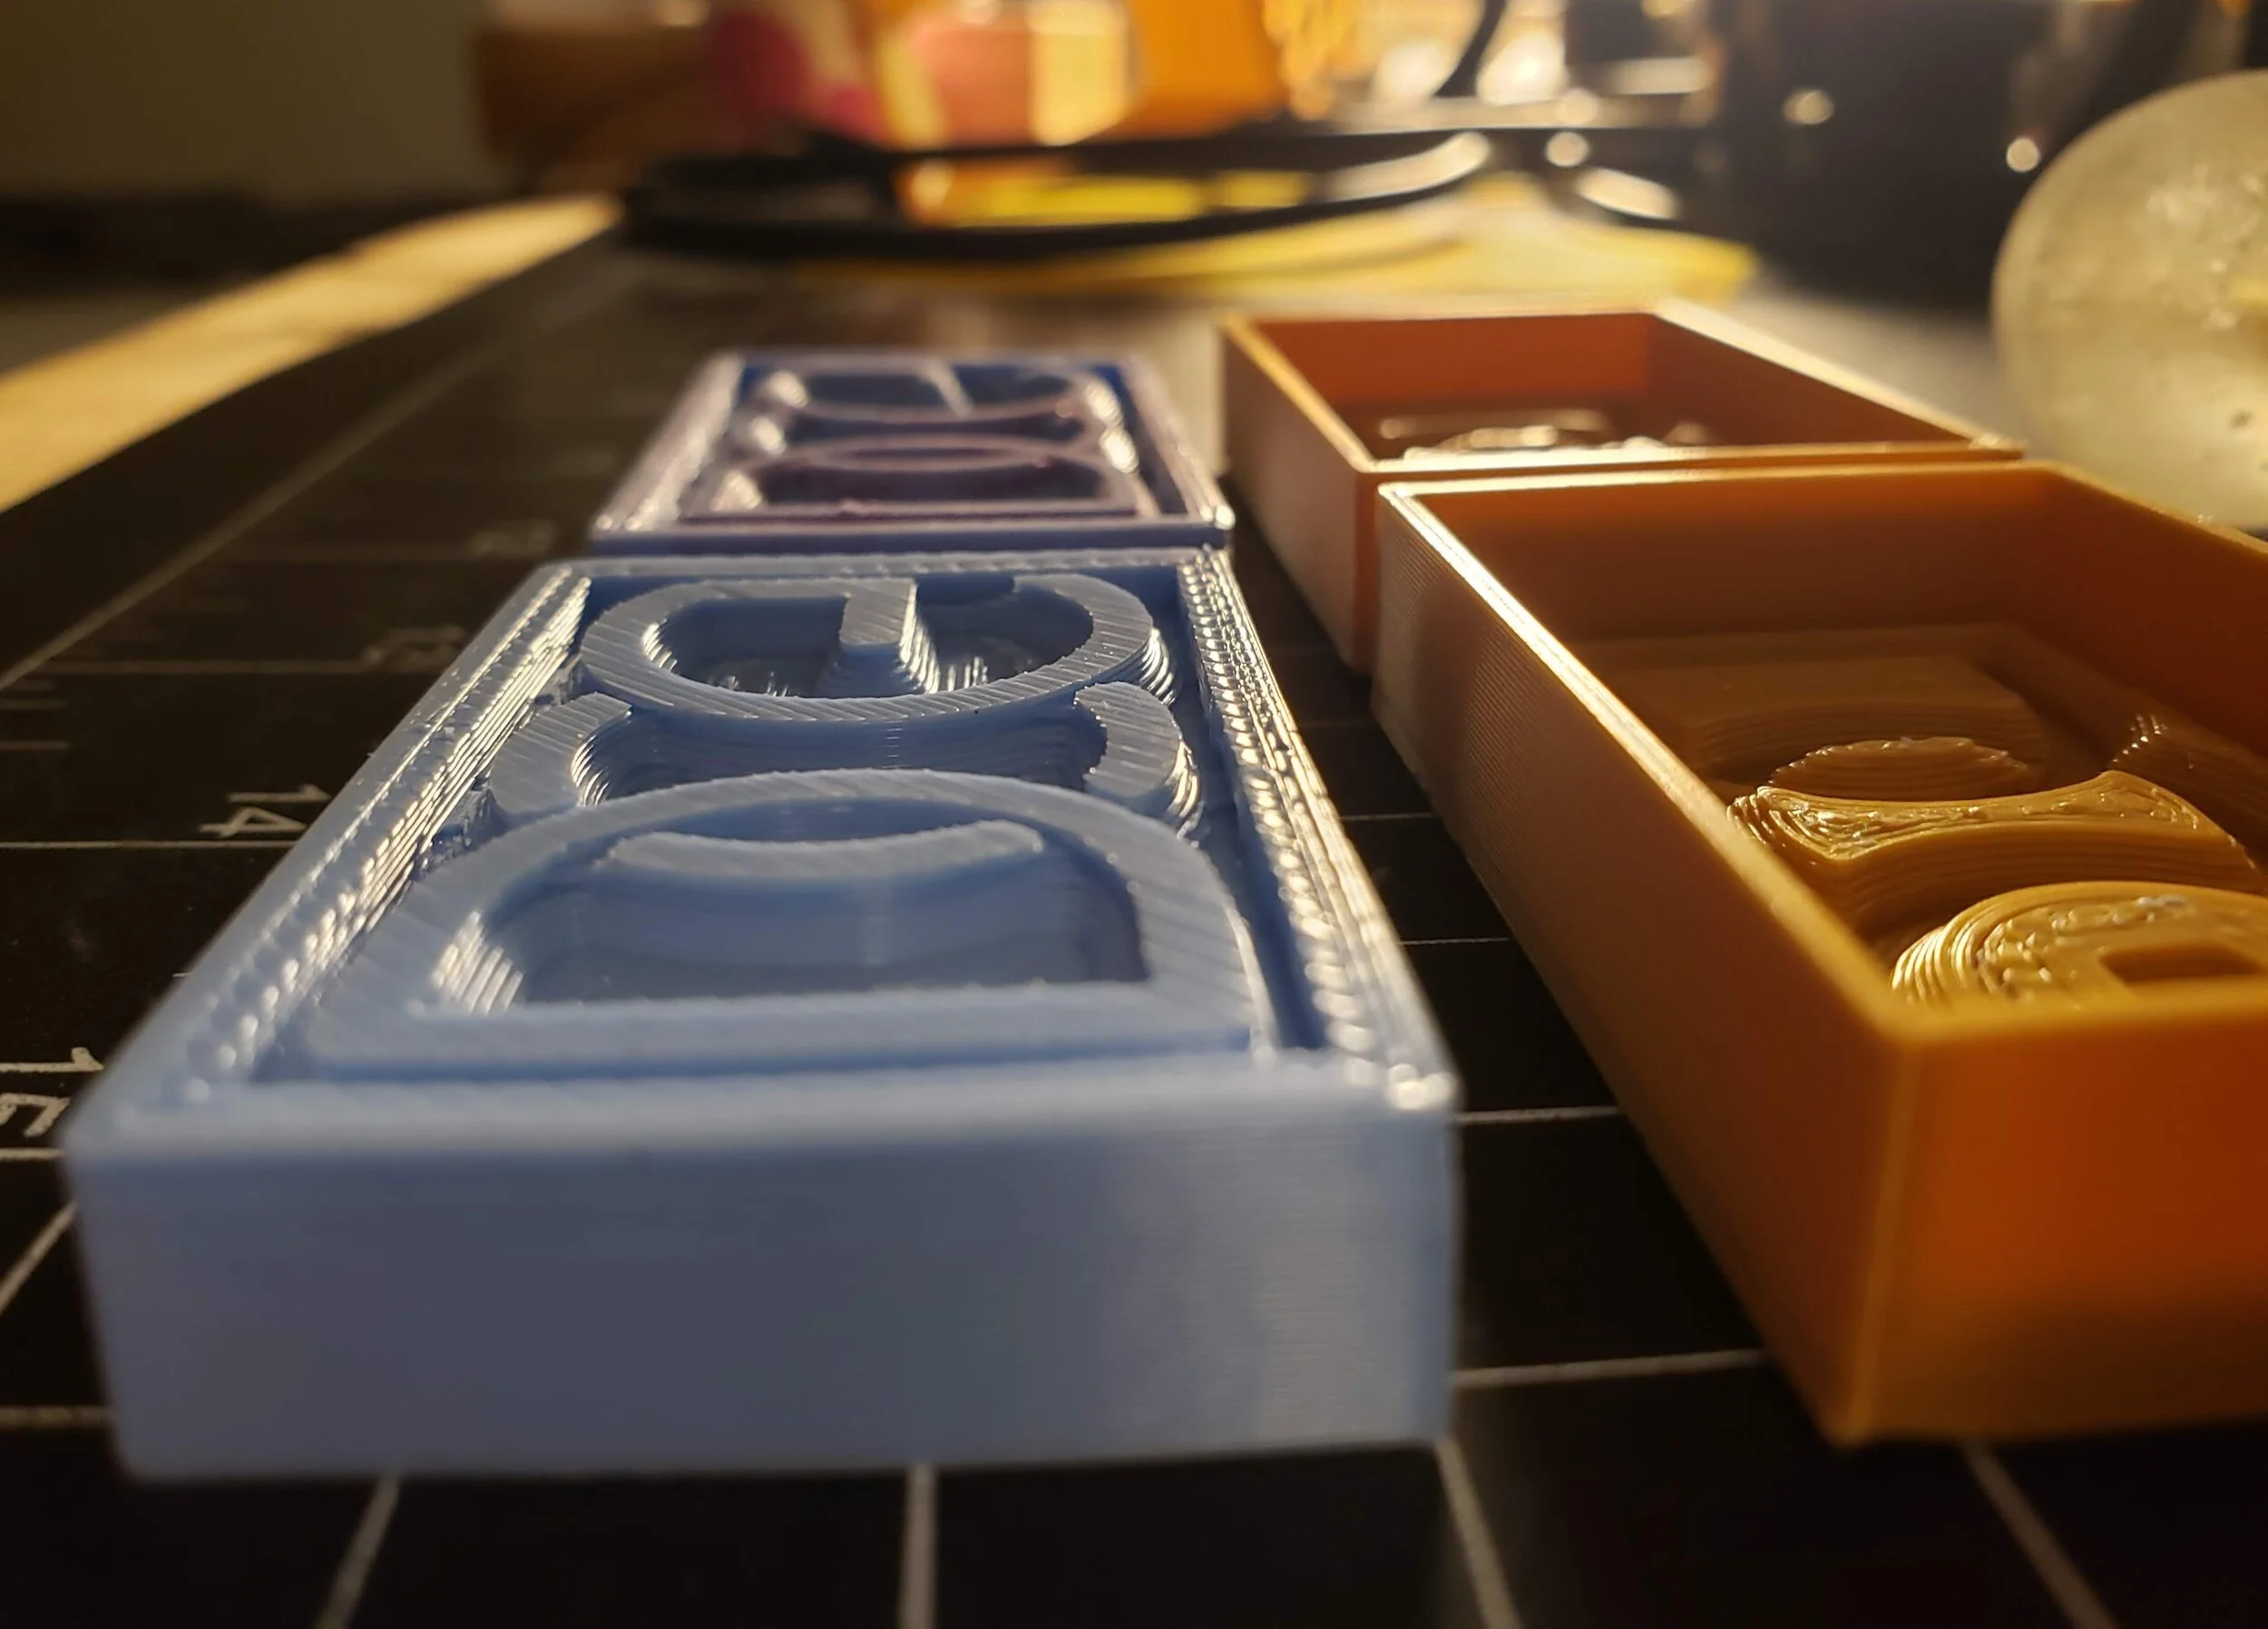
I started working on the mold for the silicone portion of the stamp, and after tweaking small details and dimensions through a few iterations of the mold I ended up with a very promising looking slab of silicone. After a few test pressings of the stamp I was confident in the results and proceeded with marrying the silicone pad to the handle. This process required fitting a 3D printed skirt to the end of the handle with enough space surrounding the silicone pad to pour in epoxy walls.

One unplanned complication was the simple fact that the curing of epoxy is an exothermic reaction, and as such I added aluminum tape surrounding the printed skirt to act as a heat sink and extra structural reinforcement, preventing the printed skirt from warping under the heat. This left me with a mostly complete stamper, but the silicone pad was still only held in by the epoxy walls, with no adhesive or anchoring point holding everything together in a more permanent fashion.

The solution I landed on for this was to drill two blind holes into the epoxy at the mating surface between the pad and the handle. Additional silicone was then poured into the holes and the pad was placed back in its slot to bond with the newly added silicone. The angle at which these holes were drilled should provide a more secure connection between the pad and handle than if the holes were simply perpendicular to the surface. After everything cured, I found that the pad was held down quite rigidly, with no apparent way for the pad to fall out or become misaligned. Now with the final product fully assembled it was time for some testing.

Overall I am quite happy with the results I am seeing from this project. The 3D printed mold use throughout adds a pleasant texture to the handle, and gives the stamped impressions an interesting visual appearance. Over time I have noticed some degradation of the silicone used for the stamp. This can be seen in the impressions, which doesn’t bother me too much as it adds to the hand-made feel of my projects. That being said, I believe a higher durometer silicone would be more appropriate for the pad and lead to a longer overall lifetime for the stamp.

Some damage to the stamp can be seen here, most notably on the upper tip of the “G”. For the time being this is an acceptable flaw in my opinion, but if I start selling items in larger quantities I will most likely replace the silicone pad with a higher durometer silicone as previously mentioned. So far, regardless of flaws, I am very happy with the results I am getting and the additional personal touch this adds to my packaging.
